Managing customer leads: Step by step guide
We're rolling out an updated version of our interface, so your platform view may look slightly different.
Viewing leads
When you first log-in to Driftrock, you'll be presented with the list of enquiries. Some may have already been assigned to you, whilst others may be unassigned.
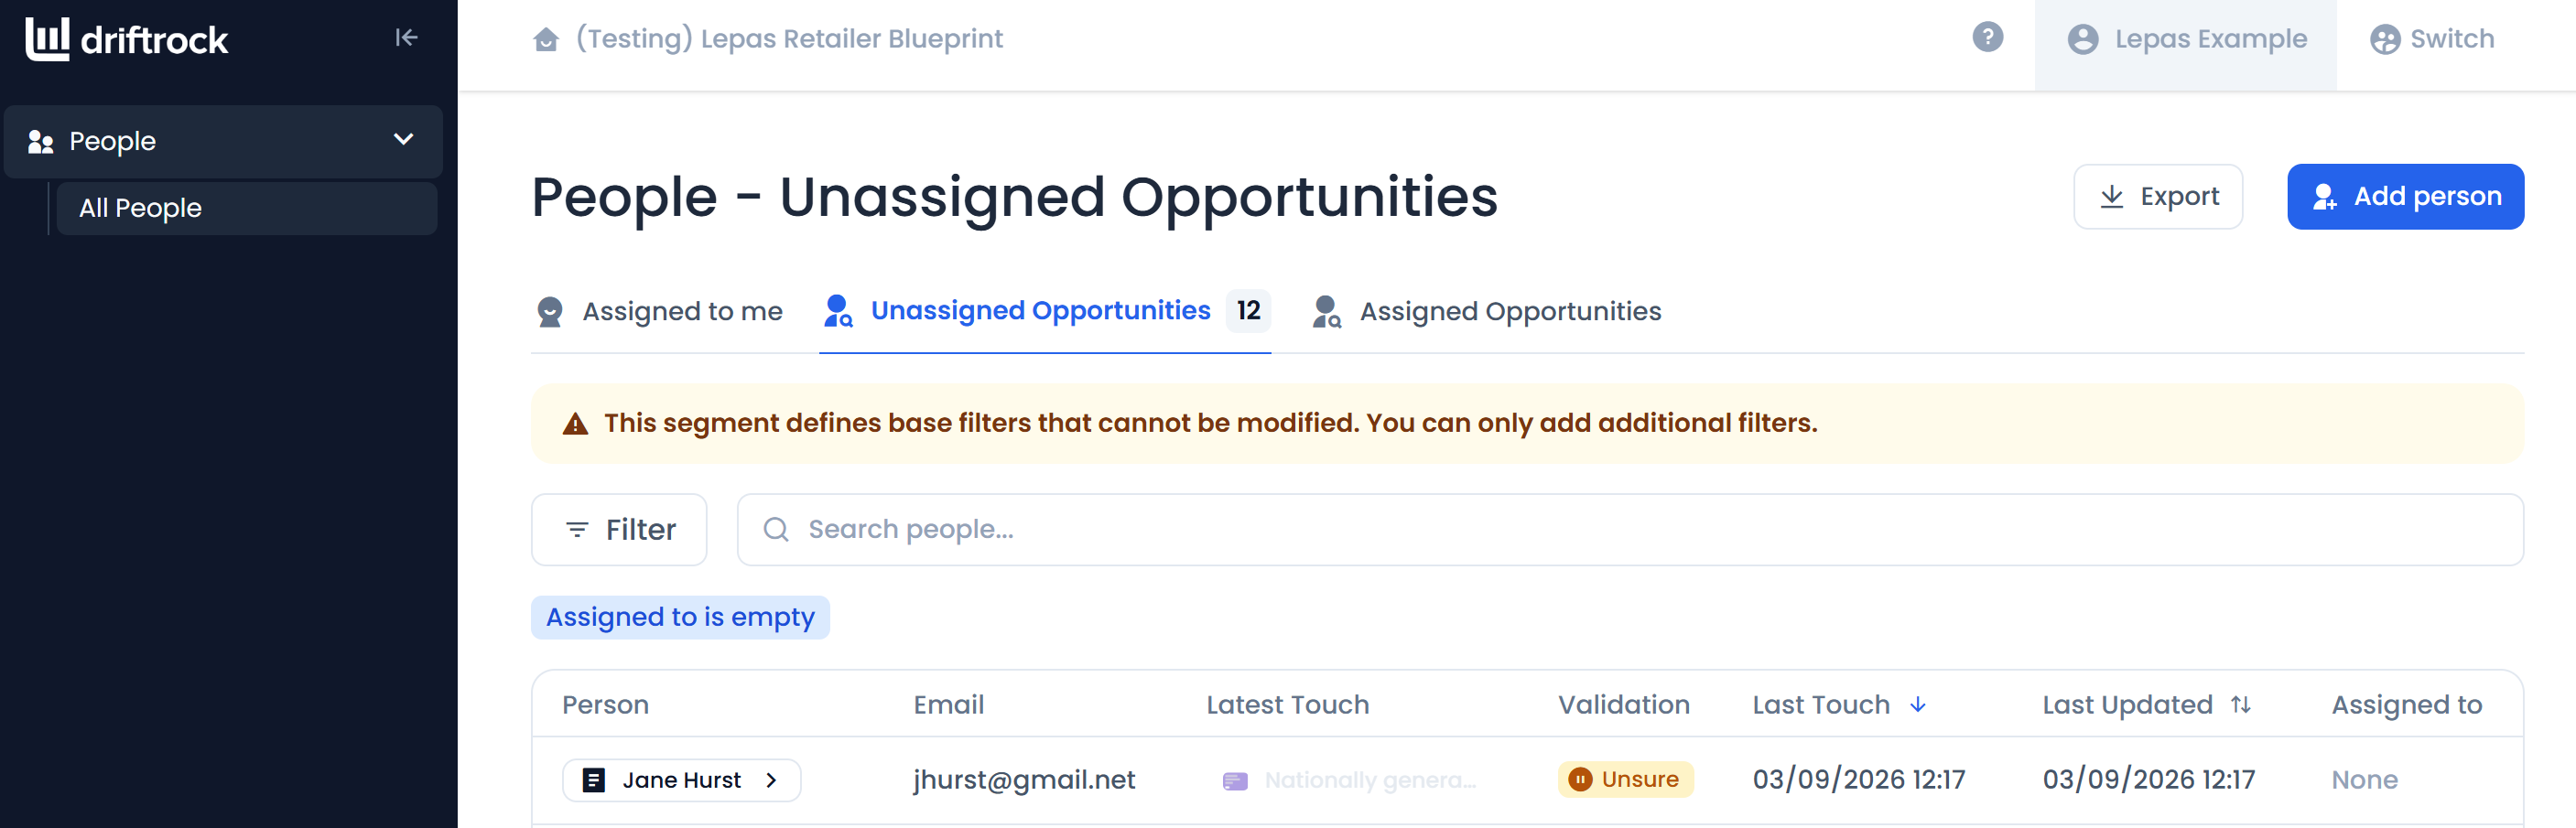
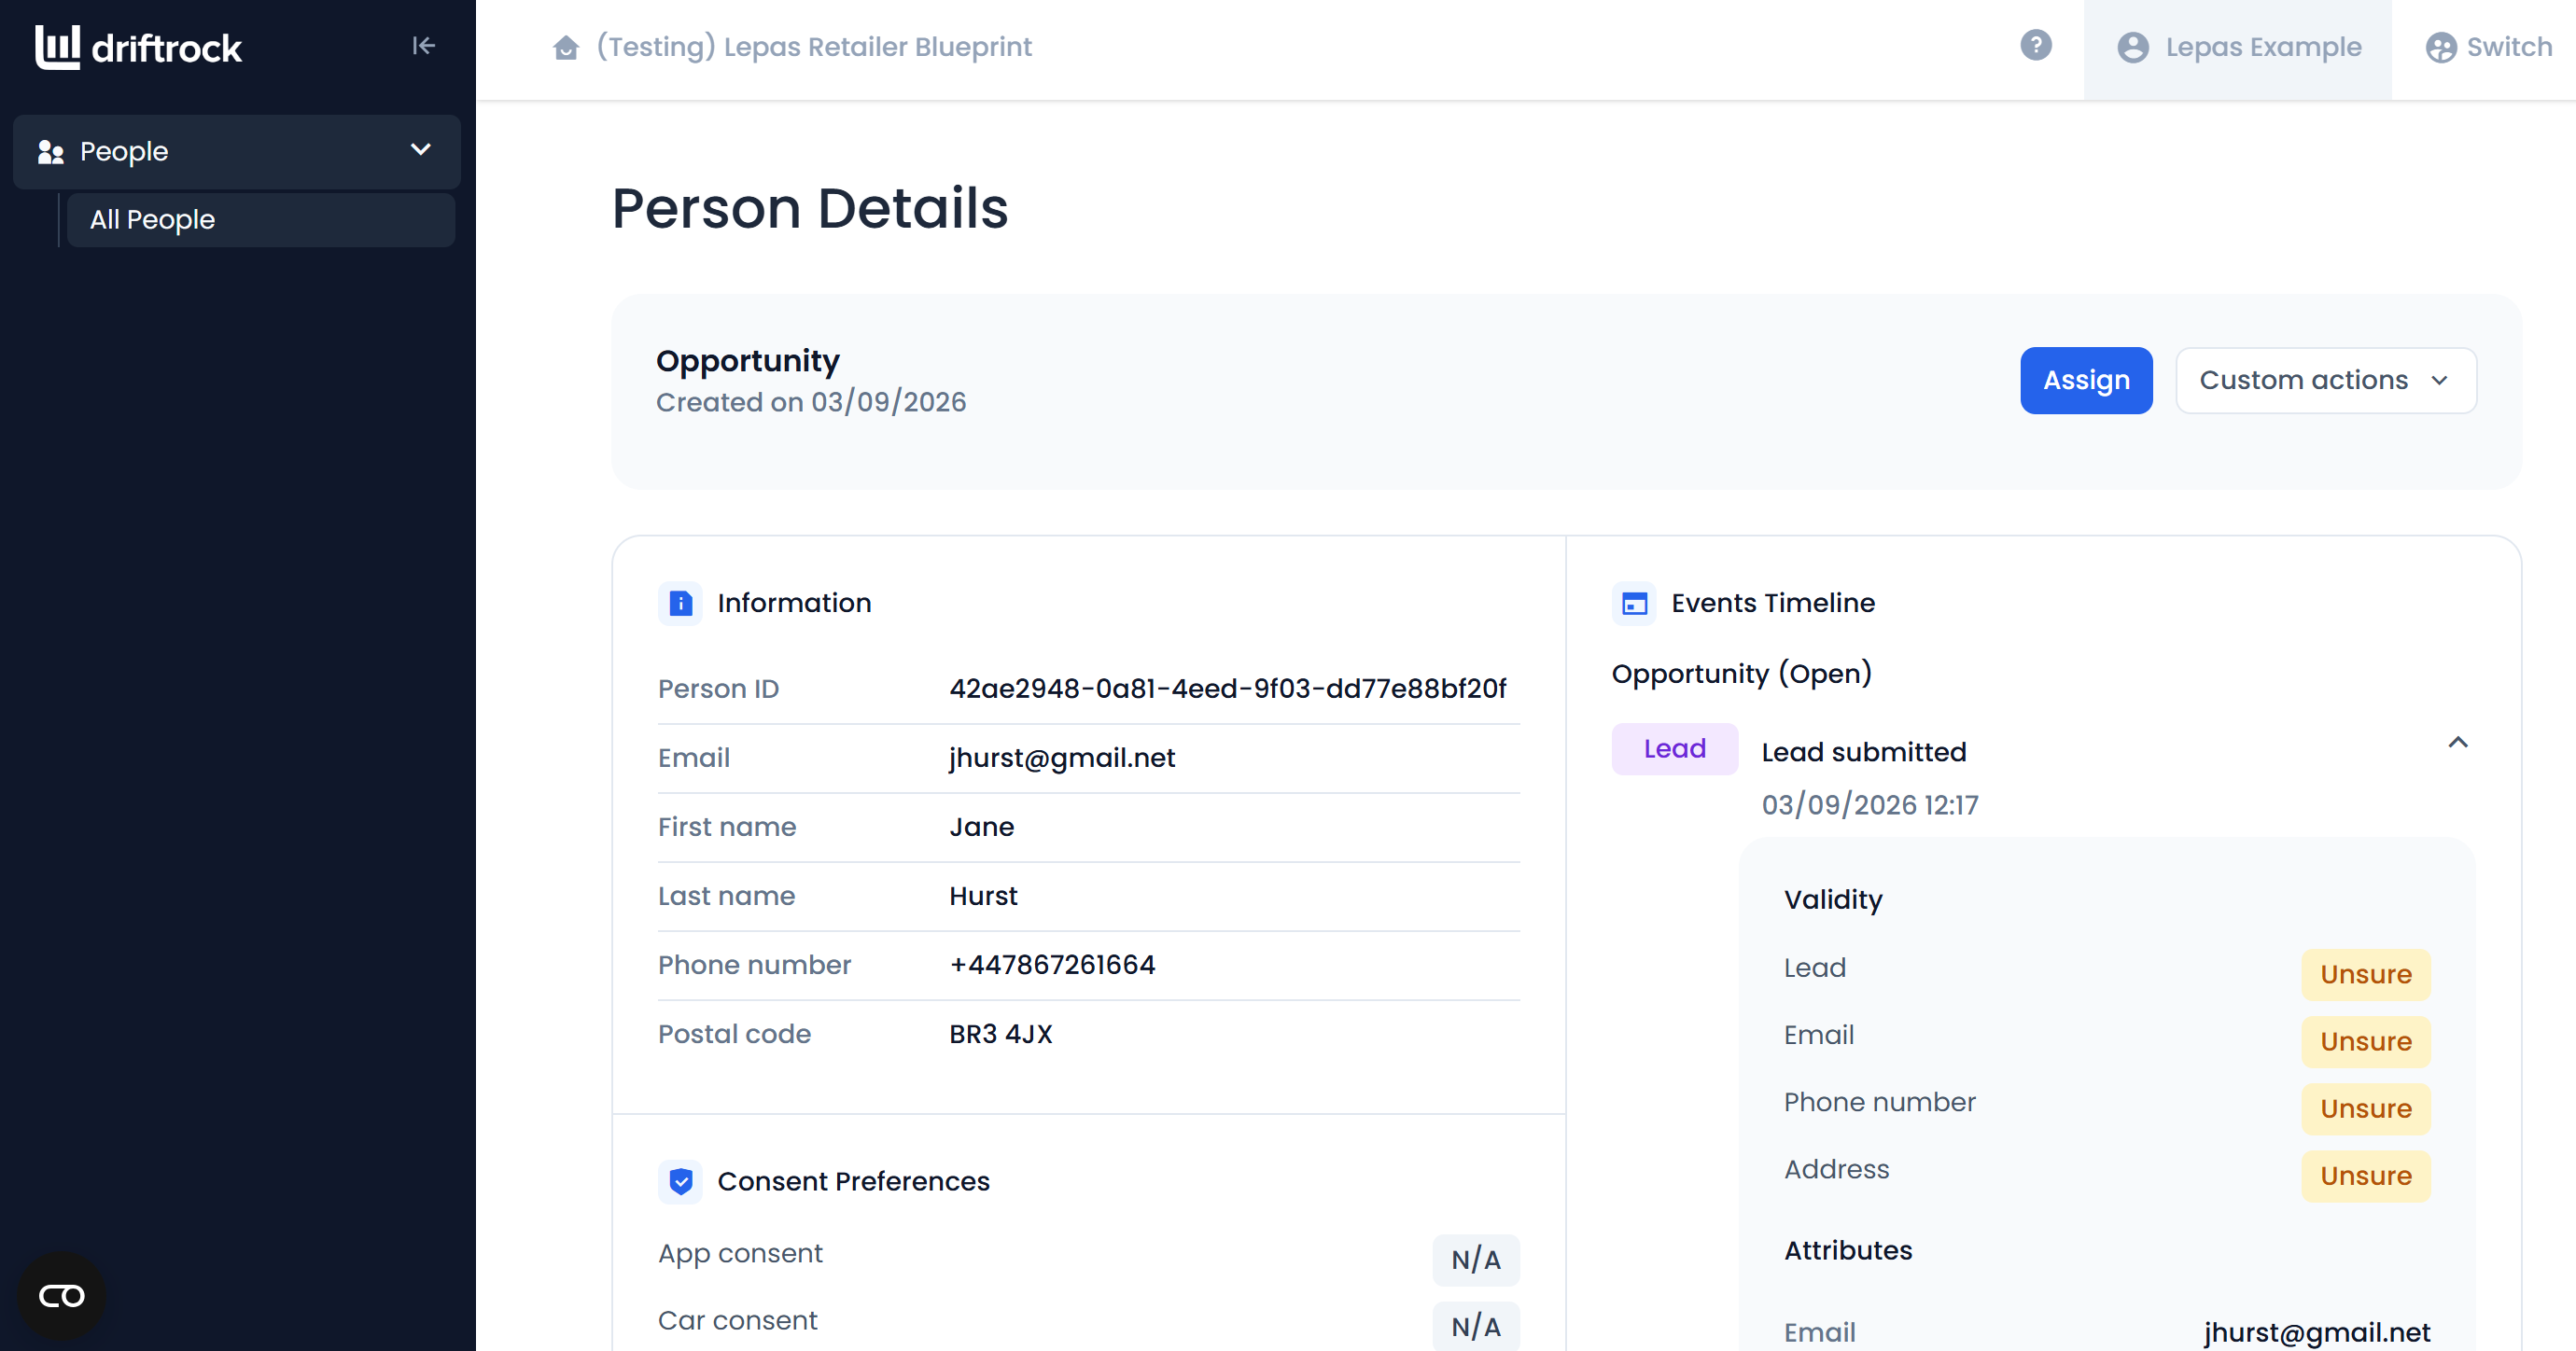
When you click the name of the customer, you'll then see an expanded view of the enquiry details.
On the right hand side, you'll also see a timeline of every action or event associated with that user.
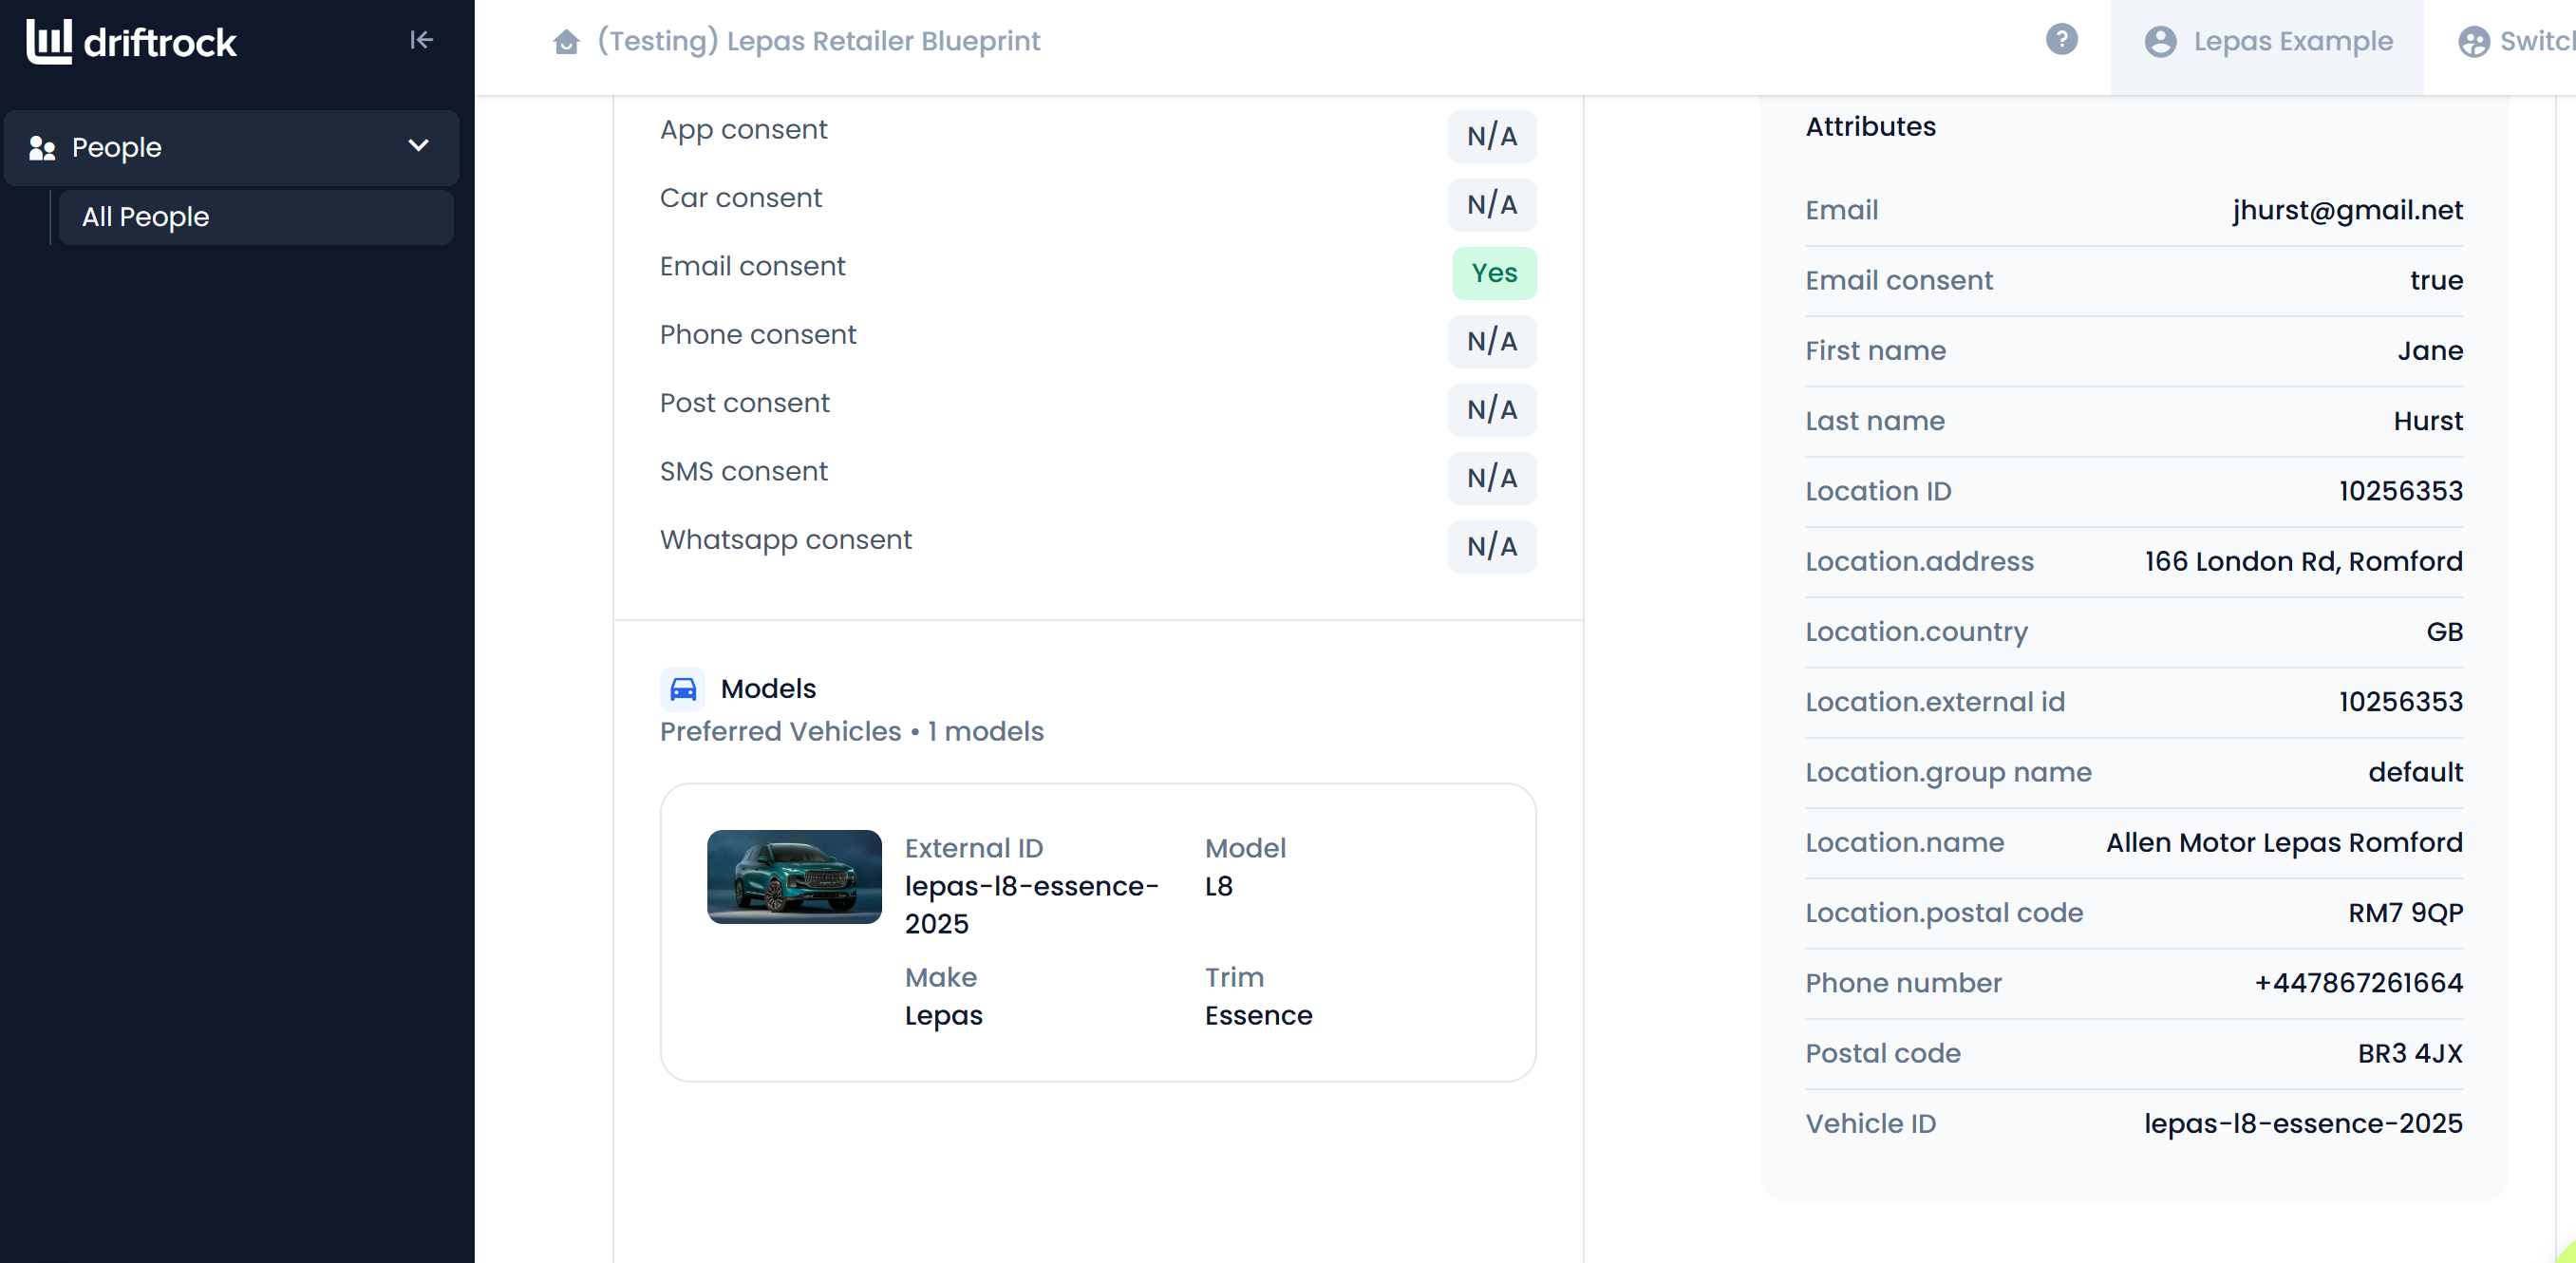
You'll also be able to see the vehicle they enquired on, for example, the L8.
Use the Assign button to assign the lead to yourself, or another member of the team.
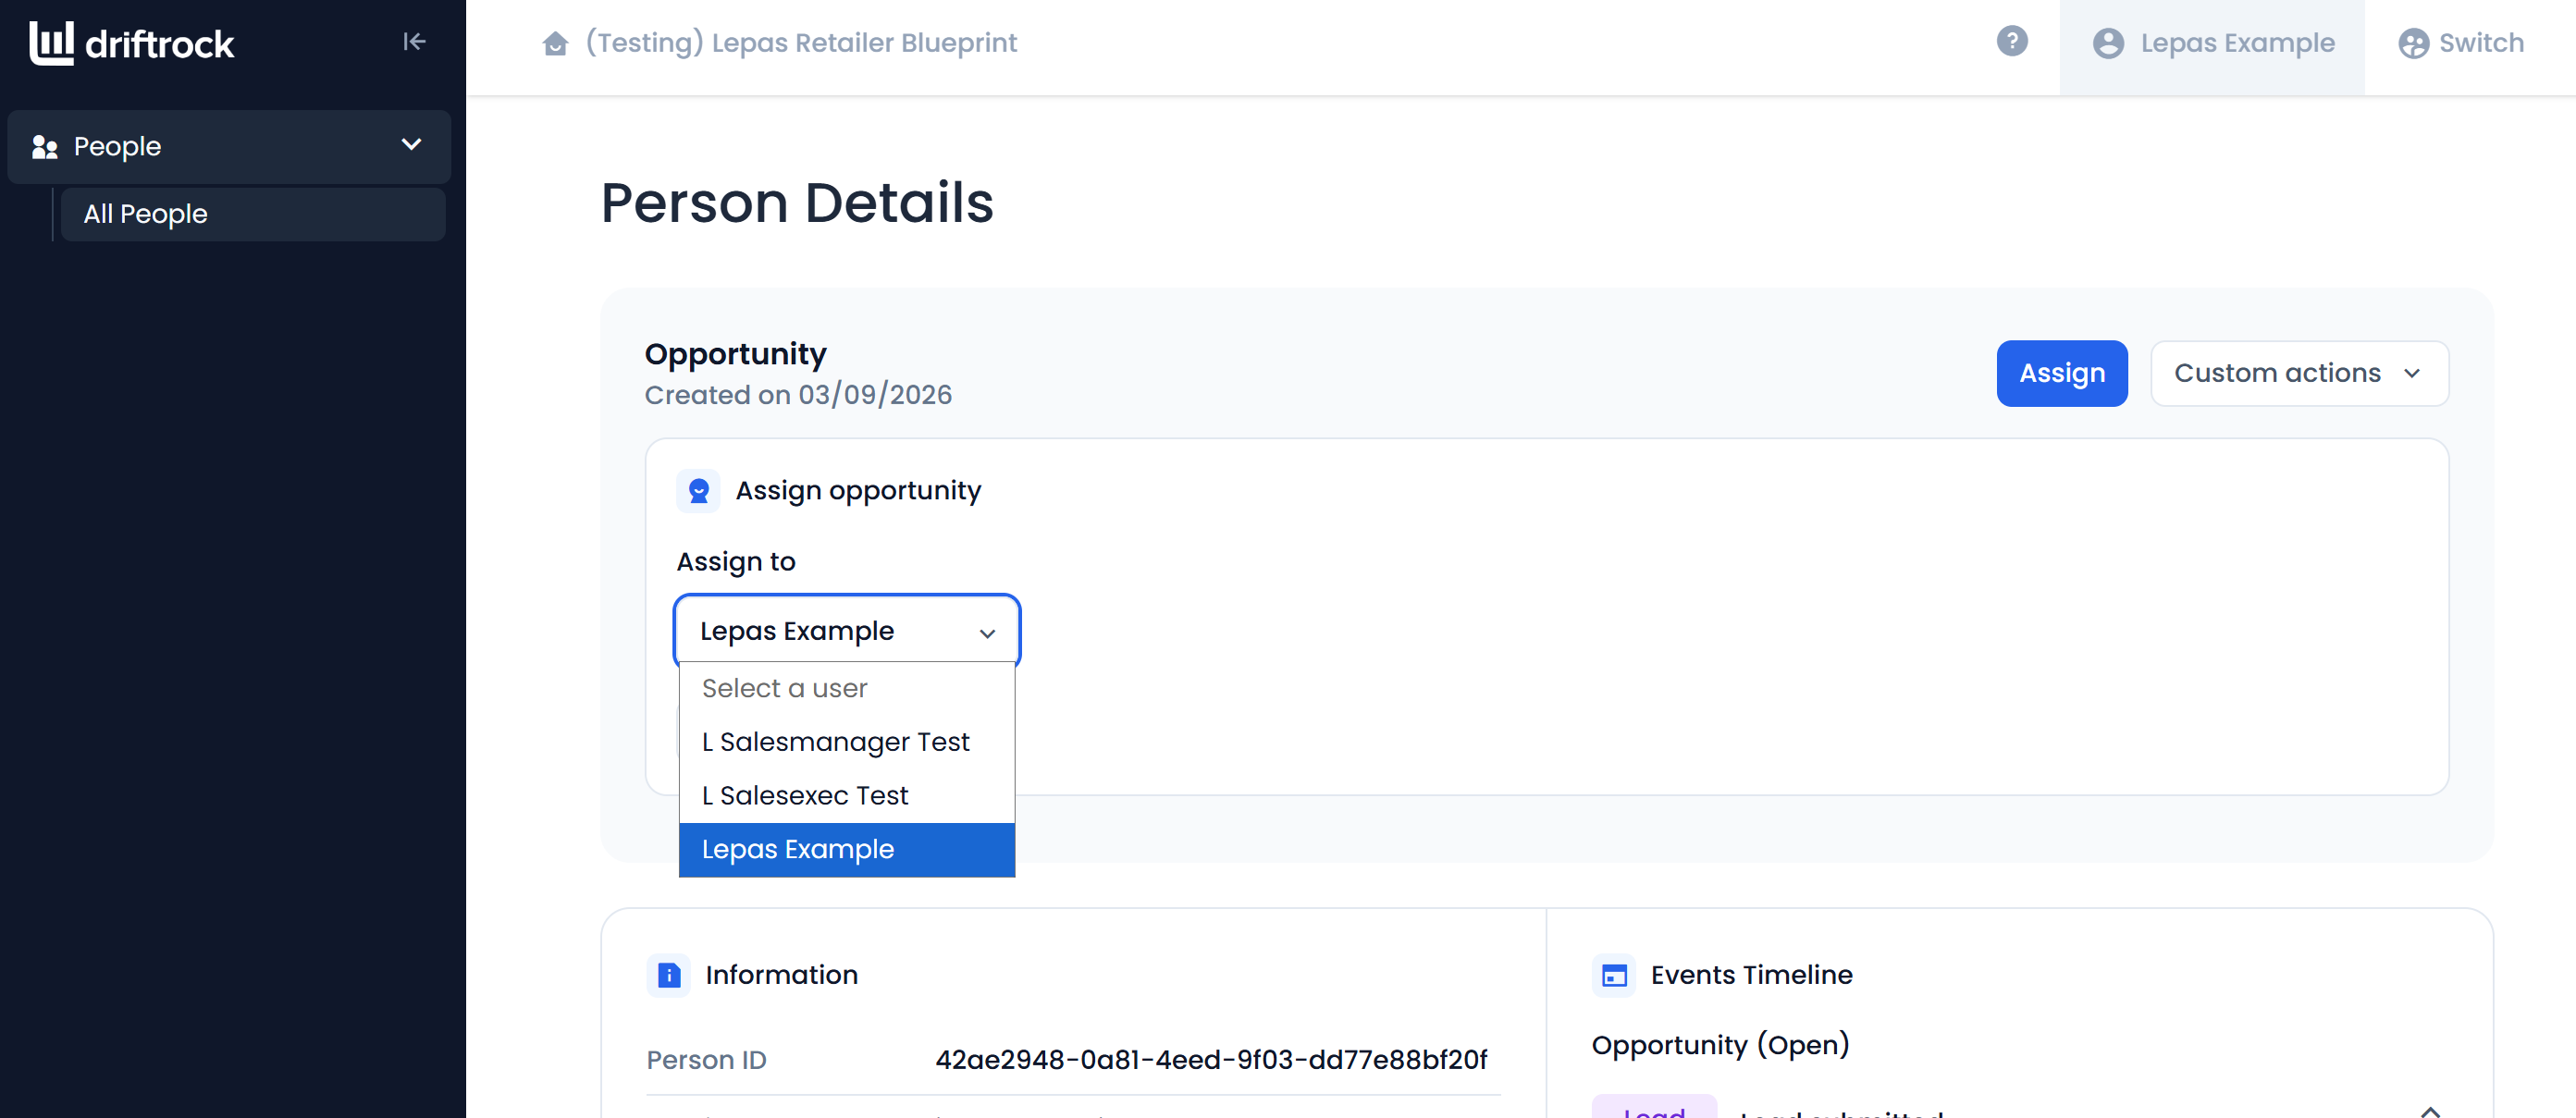
Logging contacts with the customer
If this is a new lead, you can contact the enquiry using your usual approach, whilst recording these actions within Driftrock.
If you use the Custom actions button, and Log an action, you can record different follow up types you have completed with that customer. These will then be added to the customers event timeline.
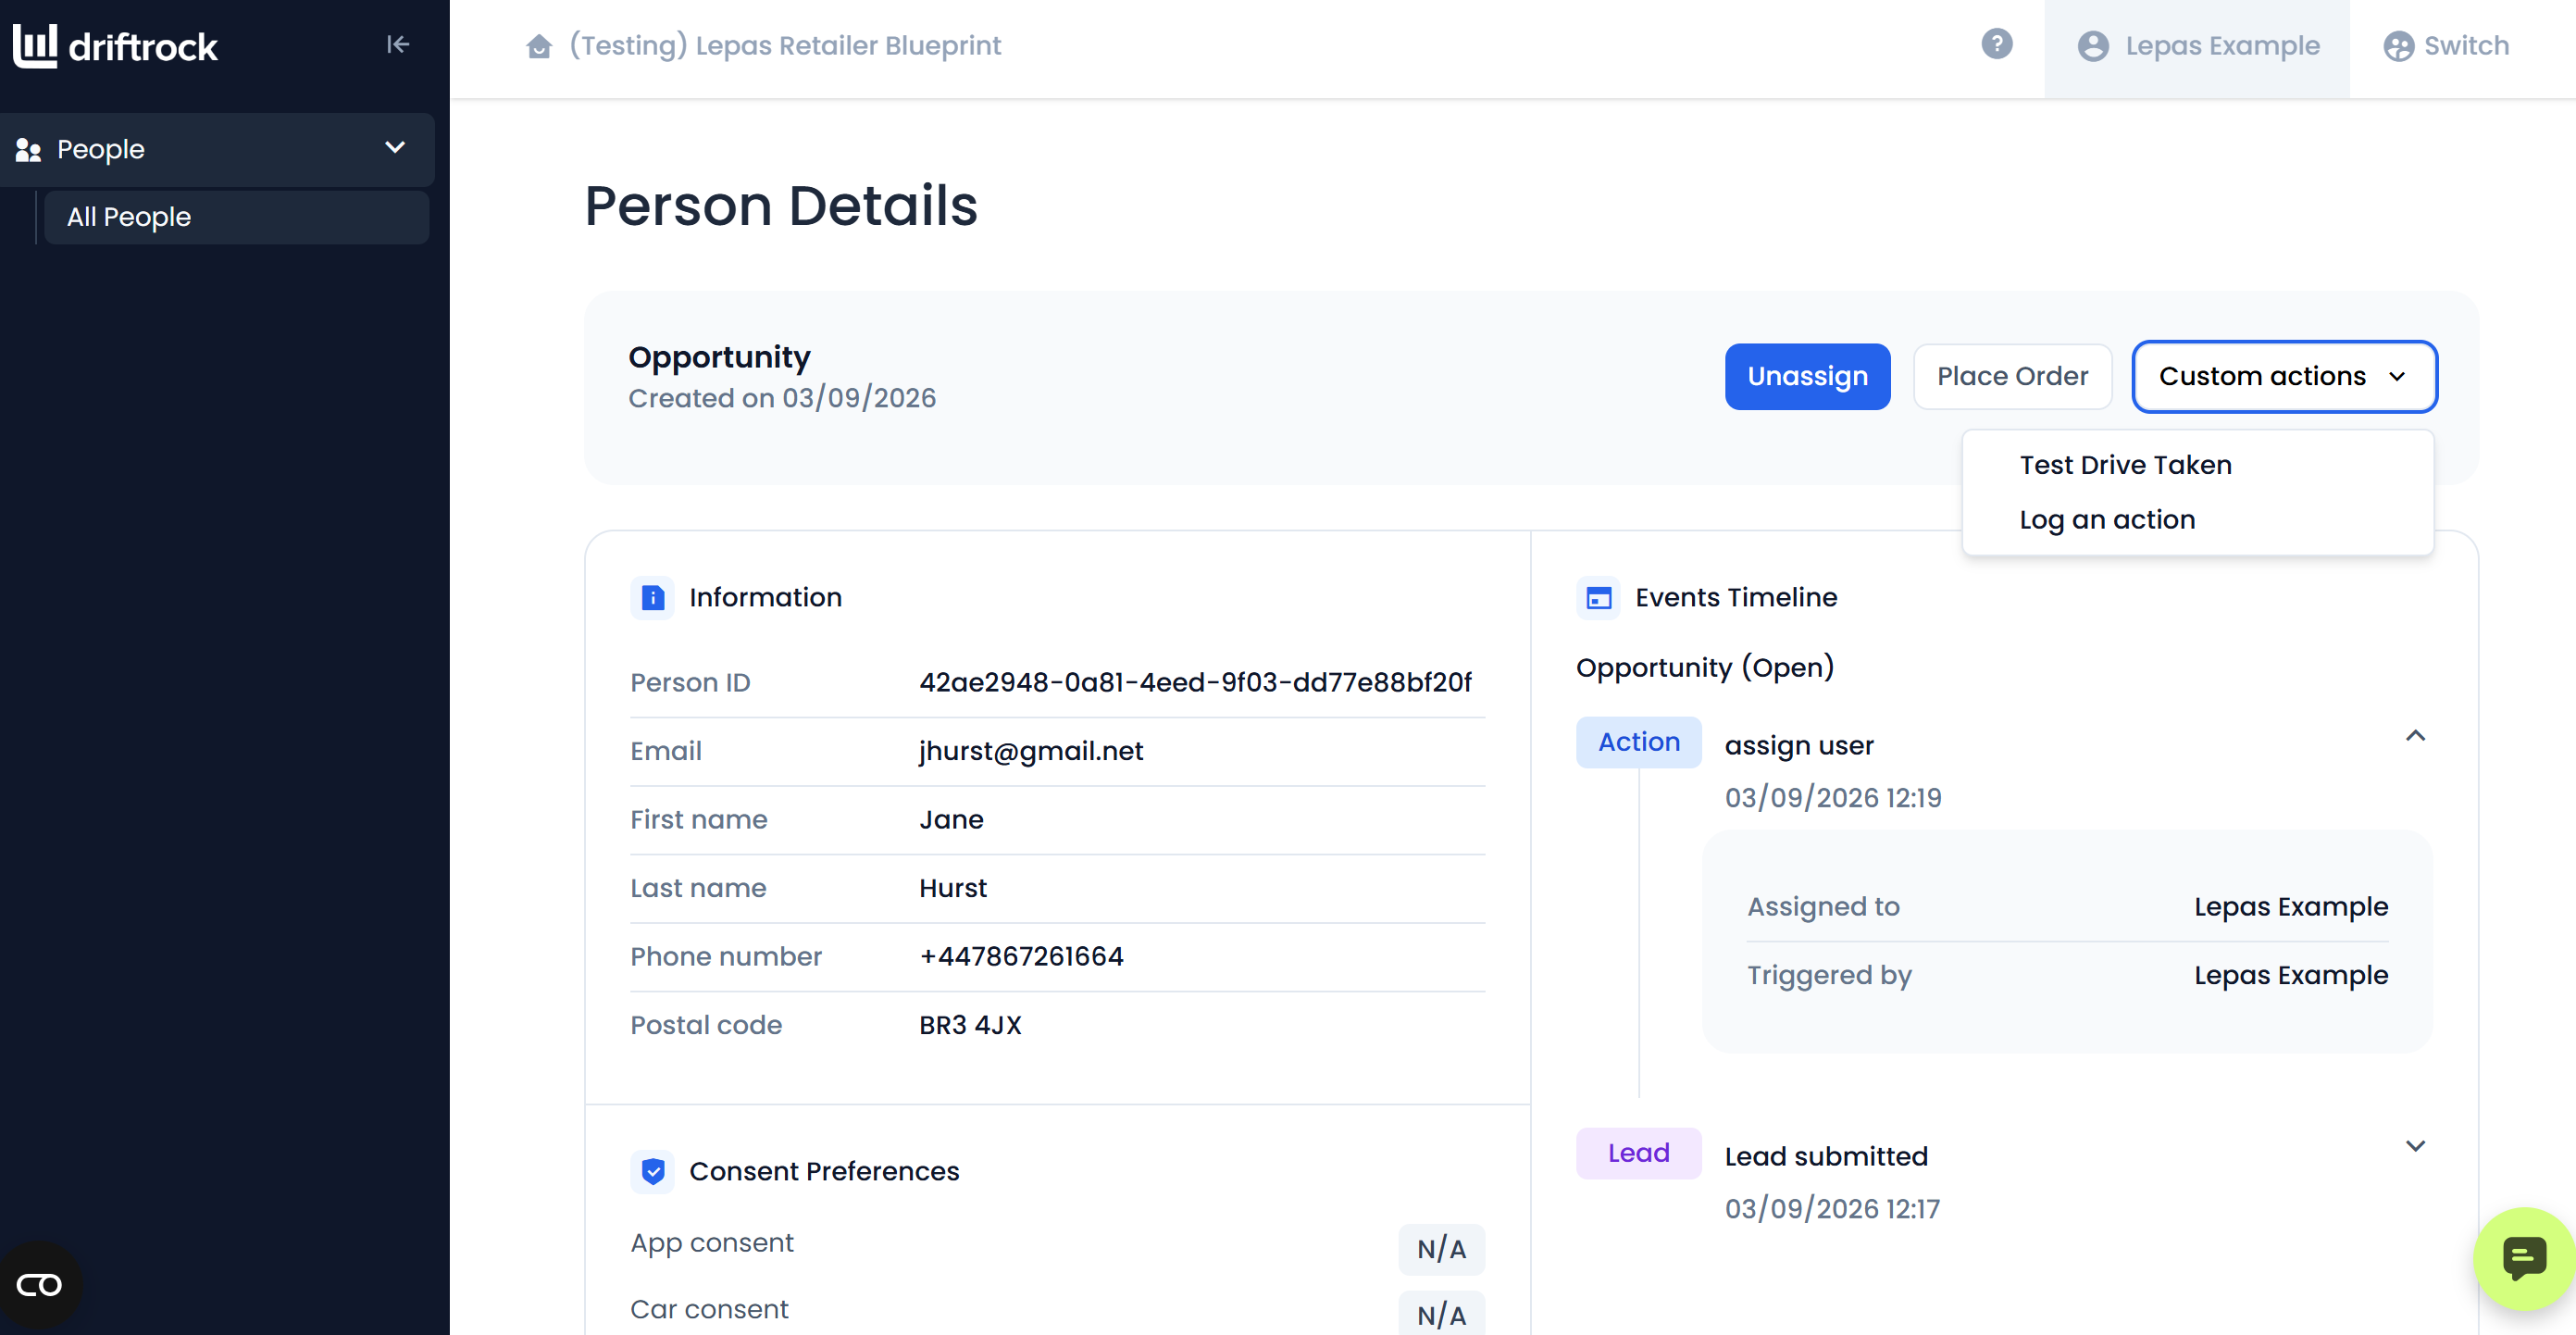
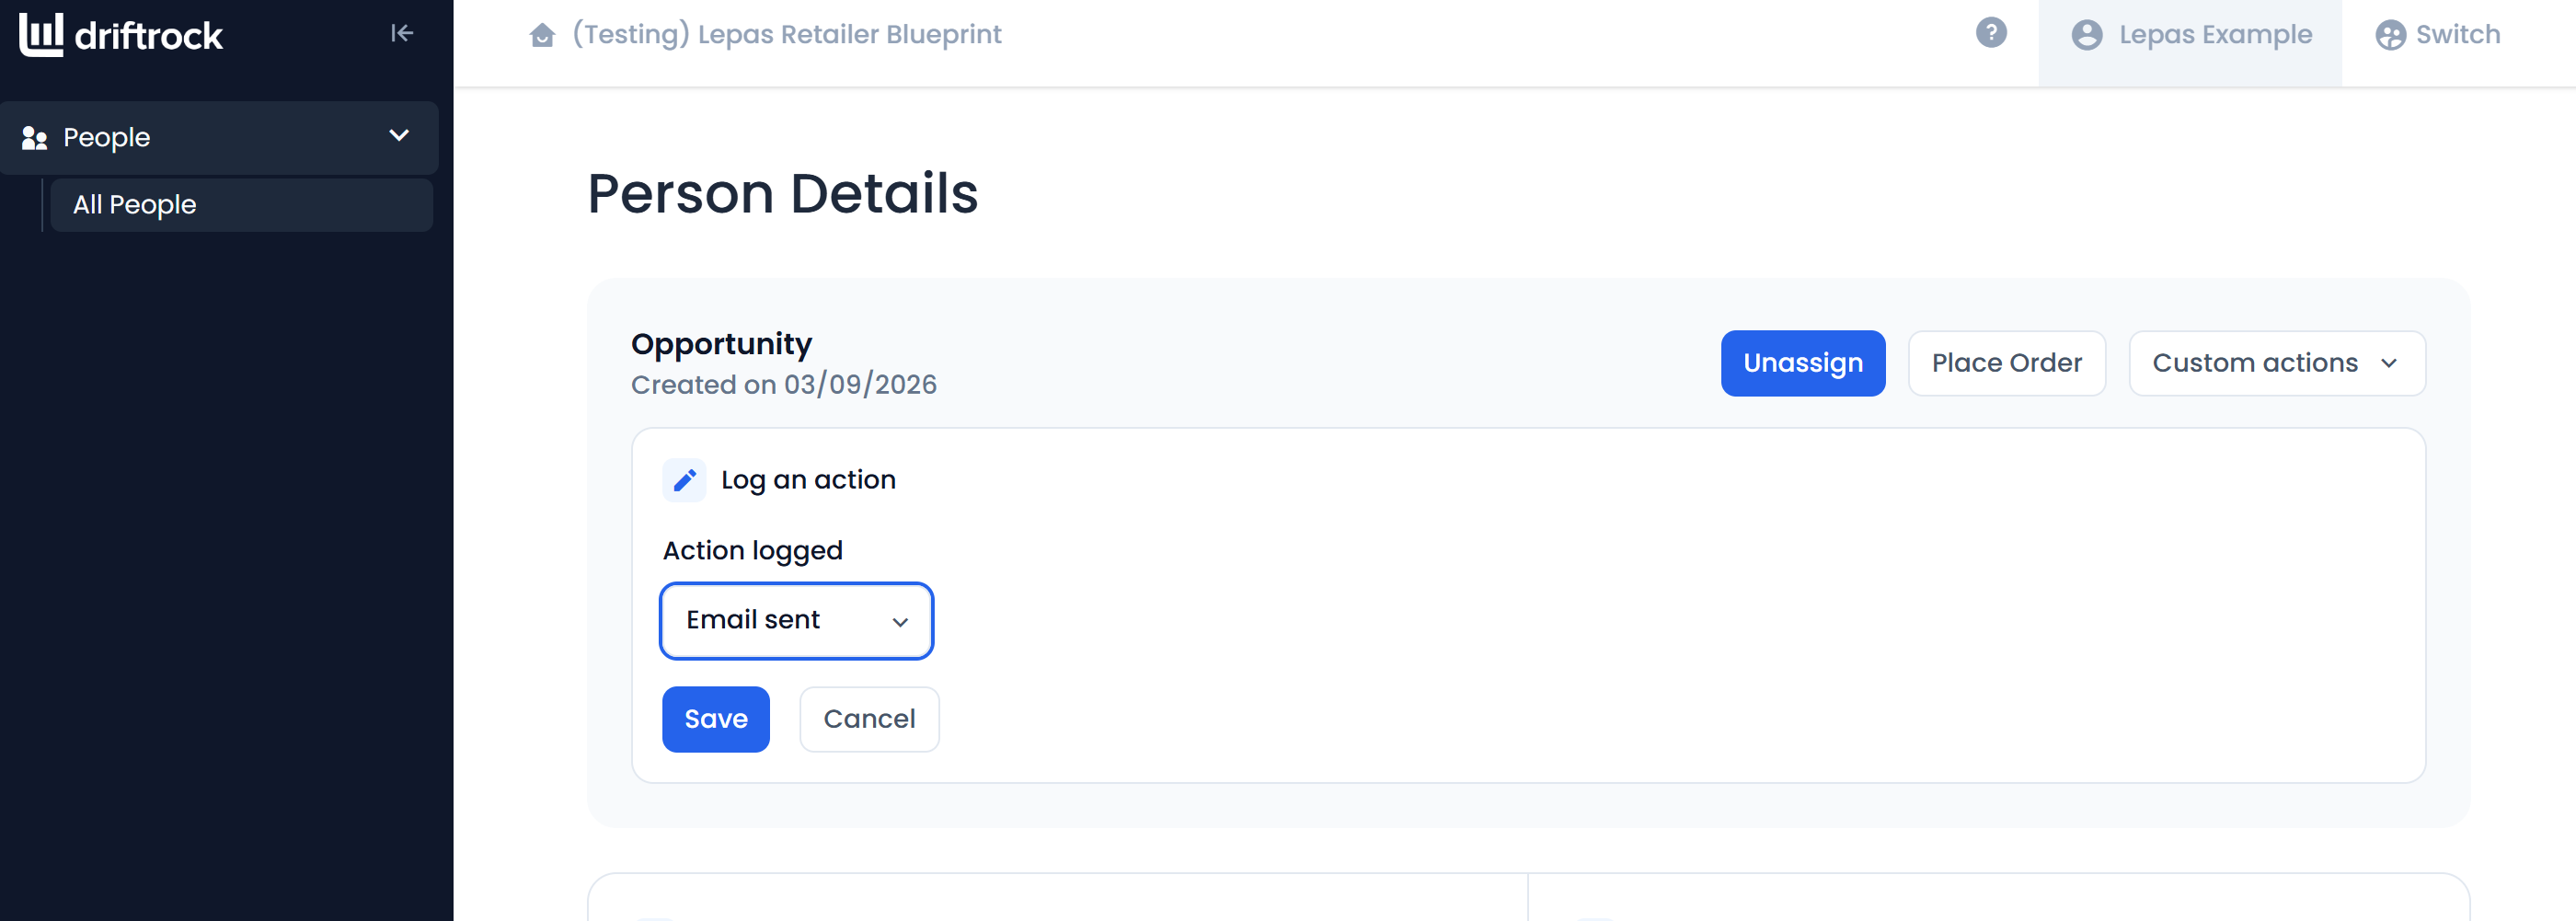
These actions will be added to the customer events timeline. At this stage, you can also record when a test drive has been taken, using the Test Drive Taken button.
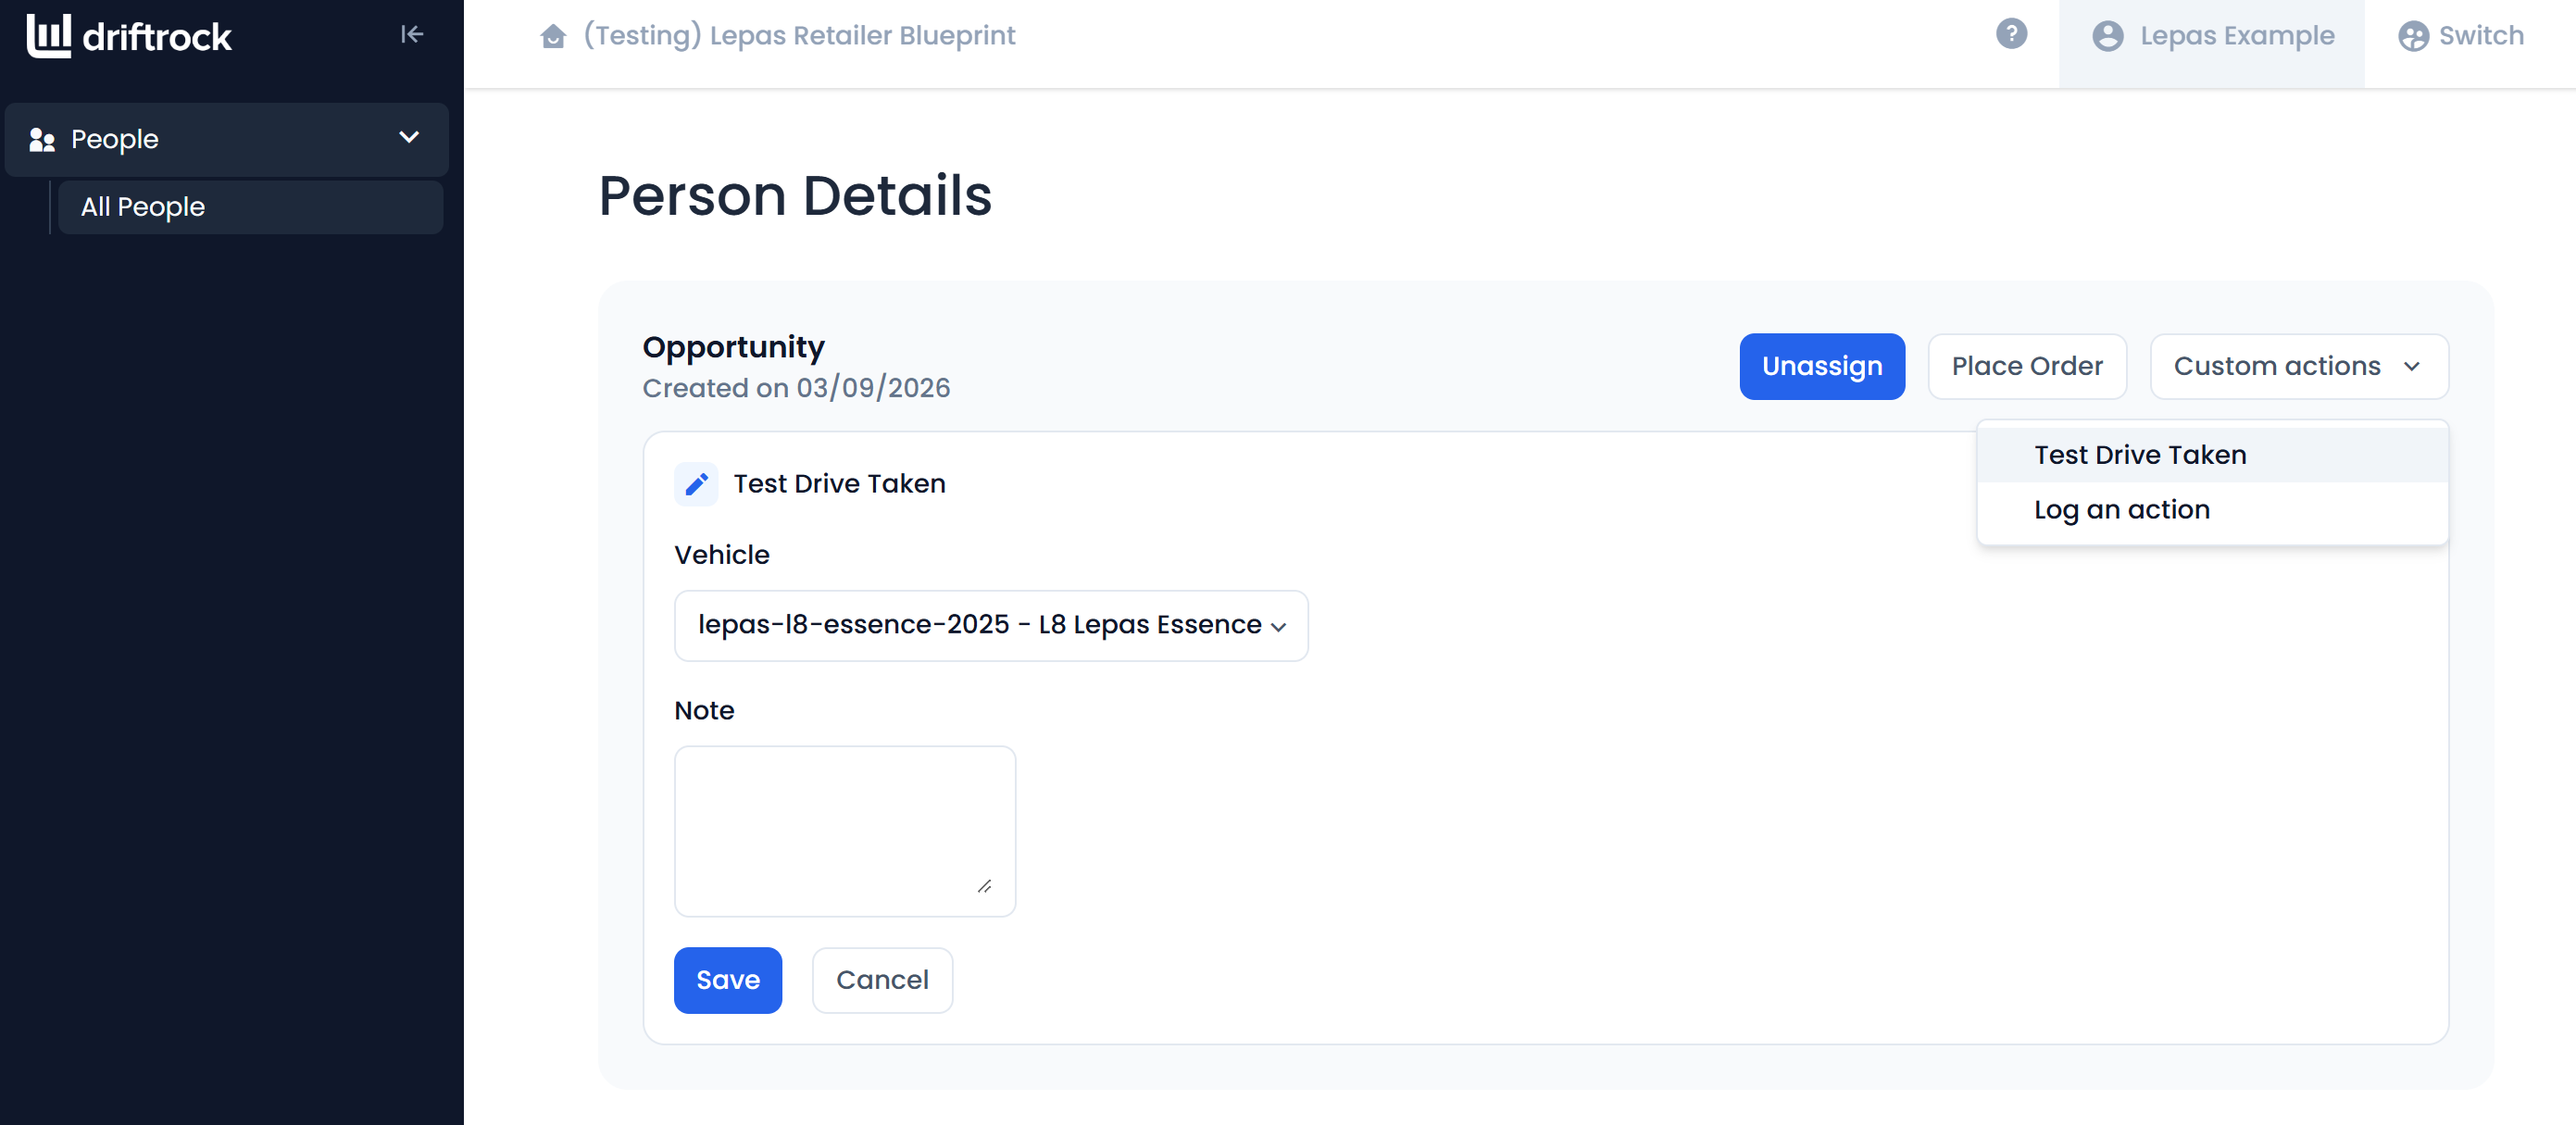
Logging an order
Once an order has been made by the customer, you can use the Place Order button to record this.
You can enter details about the vehicle, including the VIN and any specifications of the model.
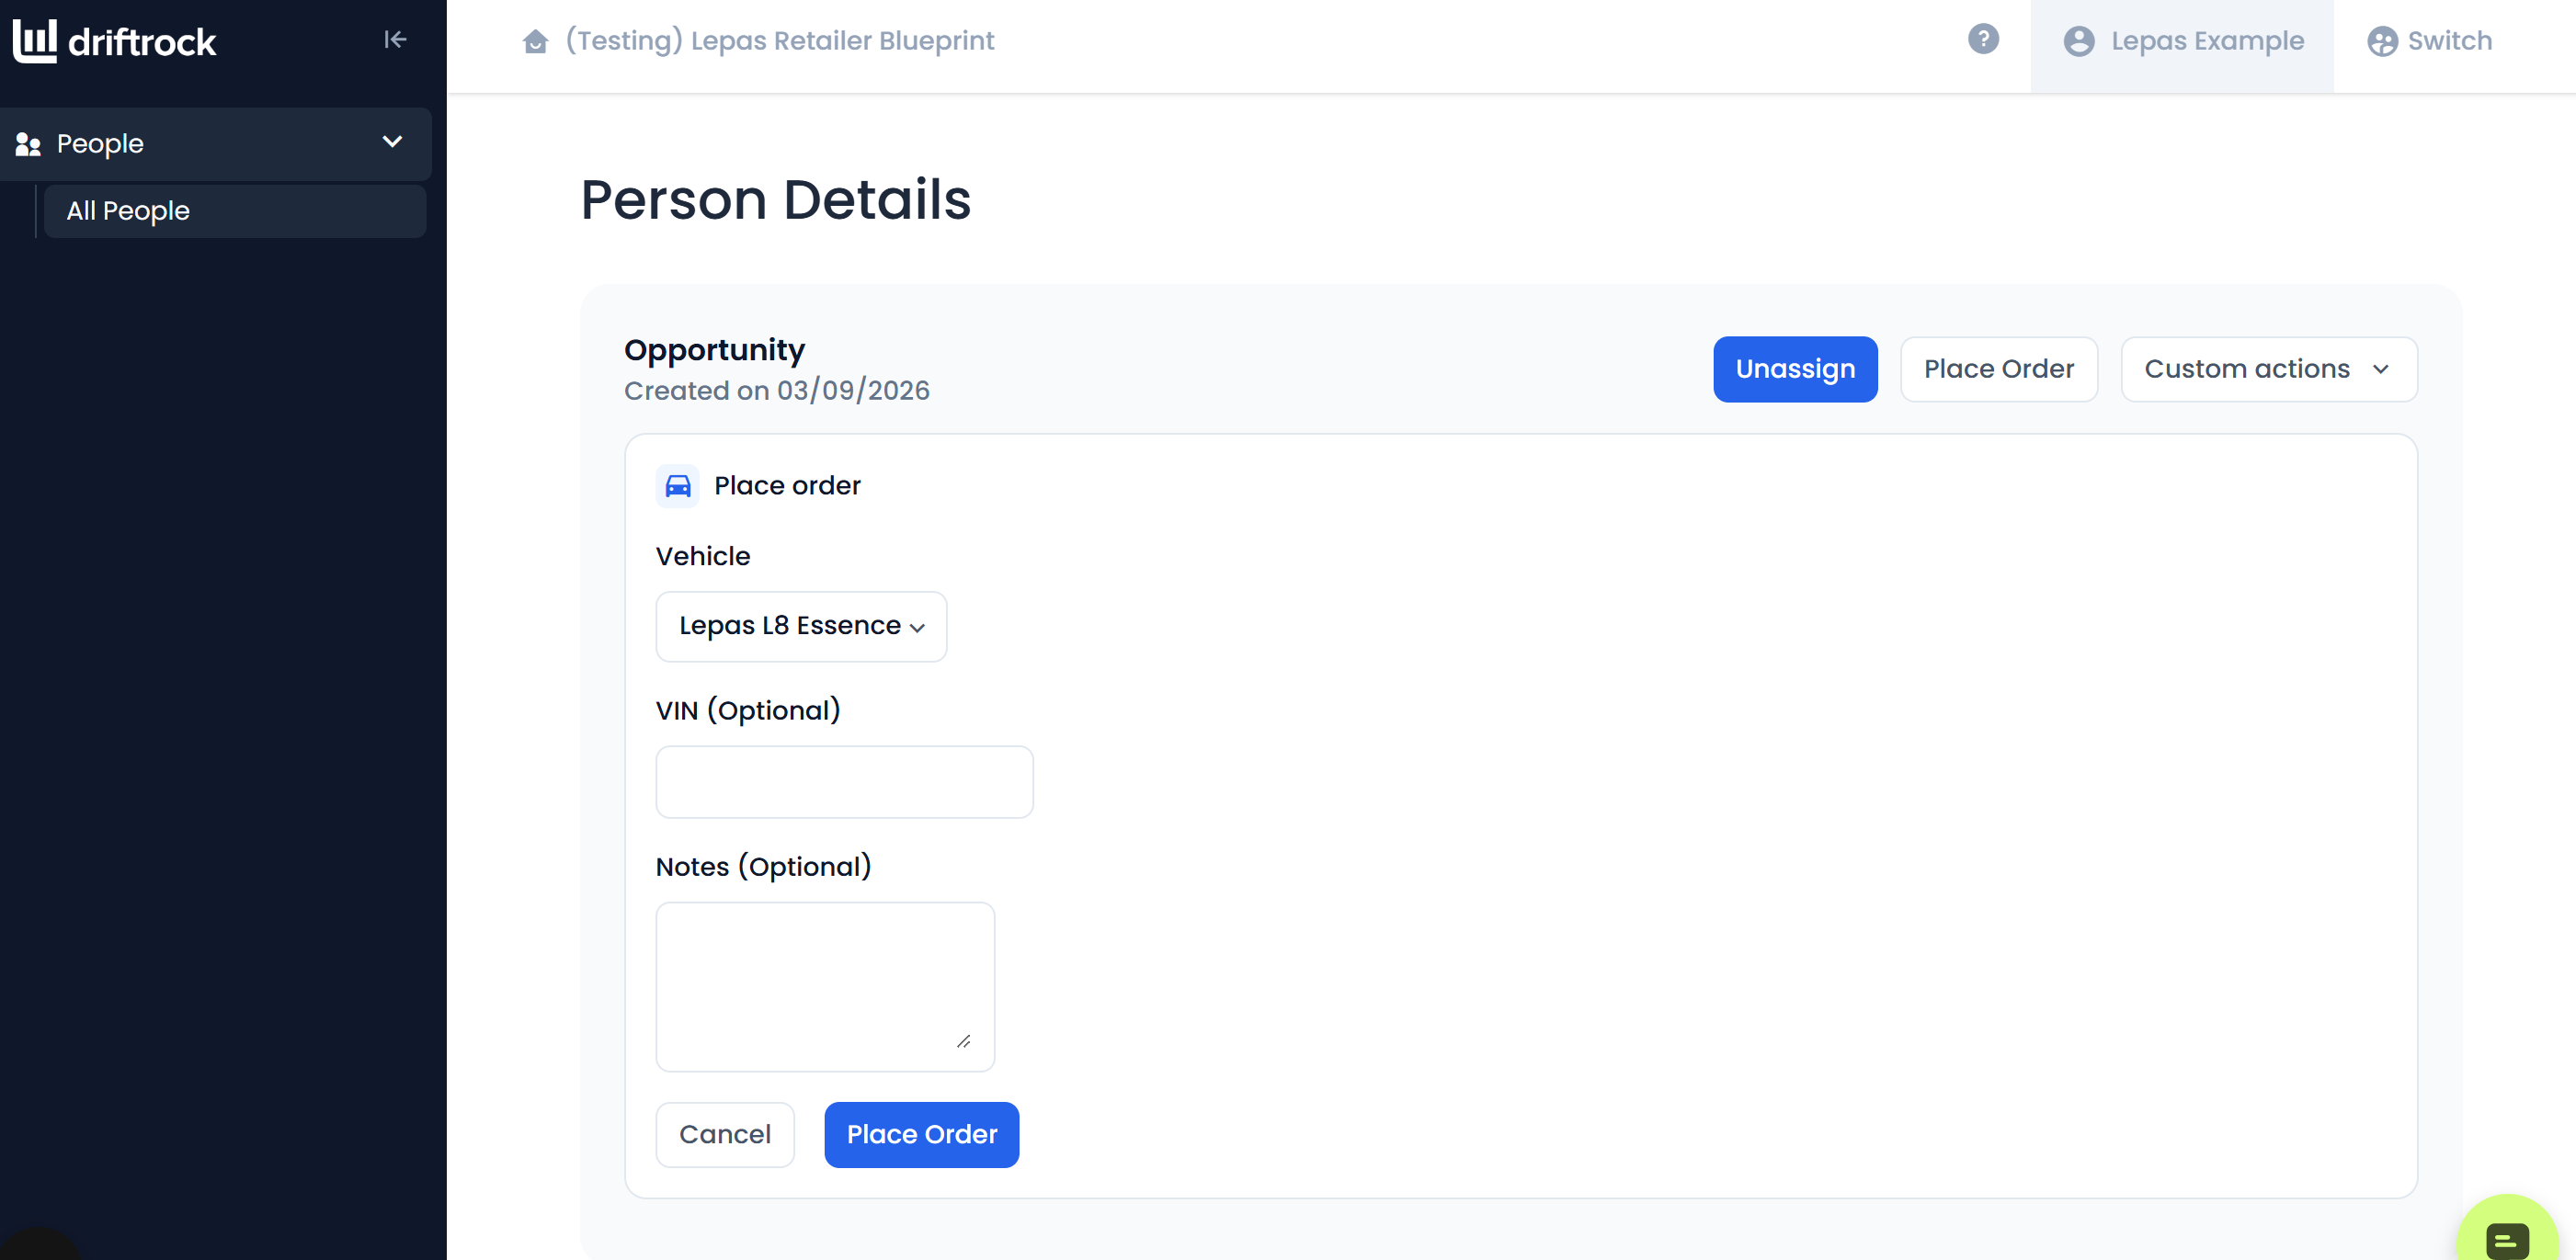
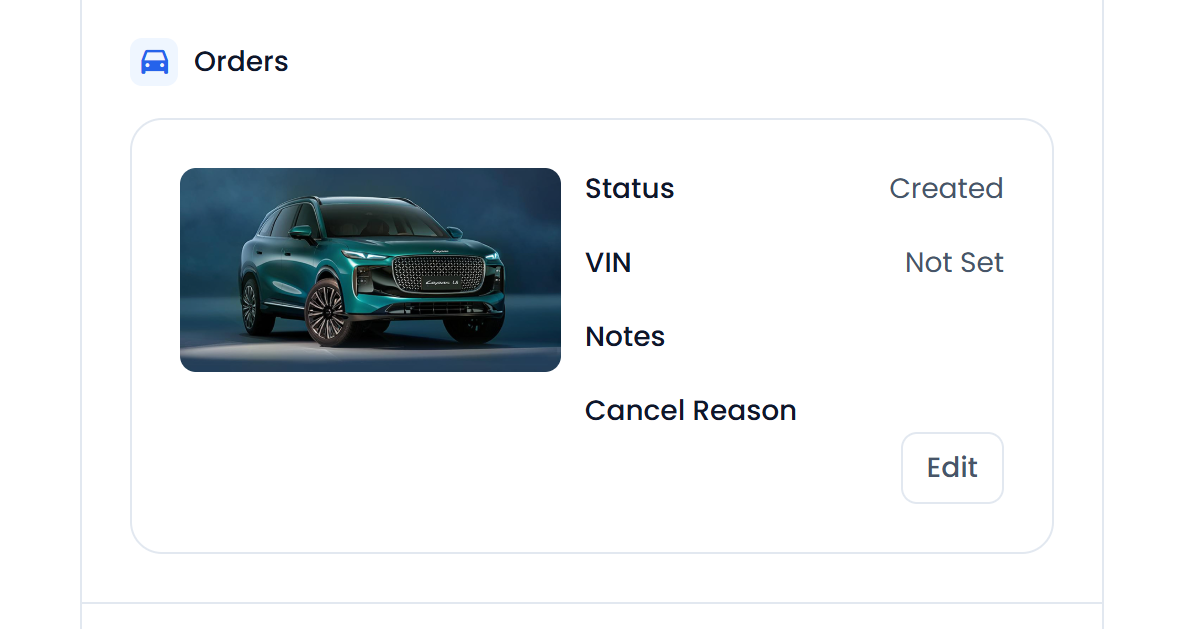
Once you select Place Order, you'll see the customers order within their record. This can be updated with more information, or moved to Complete or Cancelled if their order status changes.