
How to build a Driftrock website form and implement it on your website
This guide explains how to build a lead form in Driftrock and add it to your website. It covers installing the Driftrock script, building the form, connecting your CRM, placing the form on a page and testing it.
What is a Driftrock website form?
A Driftrock Lead Form is a lead capture form you build in Driftrock and display on your own website. Each form is a Capture, so leads submitted through it go through the same validation, deduplication and routing as leads from any other source, and are sent to your Destinations in real time.
You manage the form's fields, questions, content and basic design in Driftrock. Changes you publish in Driftrock appear on your website without any changes to your website code.
Lead Forms replace the older Driftrock website widgets. Use Lead Forms for all new forms.
How it works
Two pieces of code are involved:
The Driftrock script. A single JavaScript snippet that you install once, on every page of your website. It allows Driftrock forms to load, and captures marketing information such as UTM parameters and ad click IDs, which is added to each lead.
The form's container code. A small piece of code for each form, which you place where you want that form to appear on a page.
The script only runs on the domains you list in Driftrock's Website Settings.
Before you start
You need:
Admin permission in Driftrock, to access Website Settings.
Access to your website, either through Google Tag Manager or by editing your site's code or CMS.
Your CRM connected in Driftrock, if you want leads sent there. CRMs are connected in Settings, then Connections.
Step 1: Install the Driftrock script
You only need to do this once for your website.
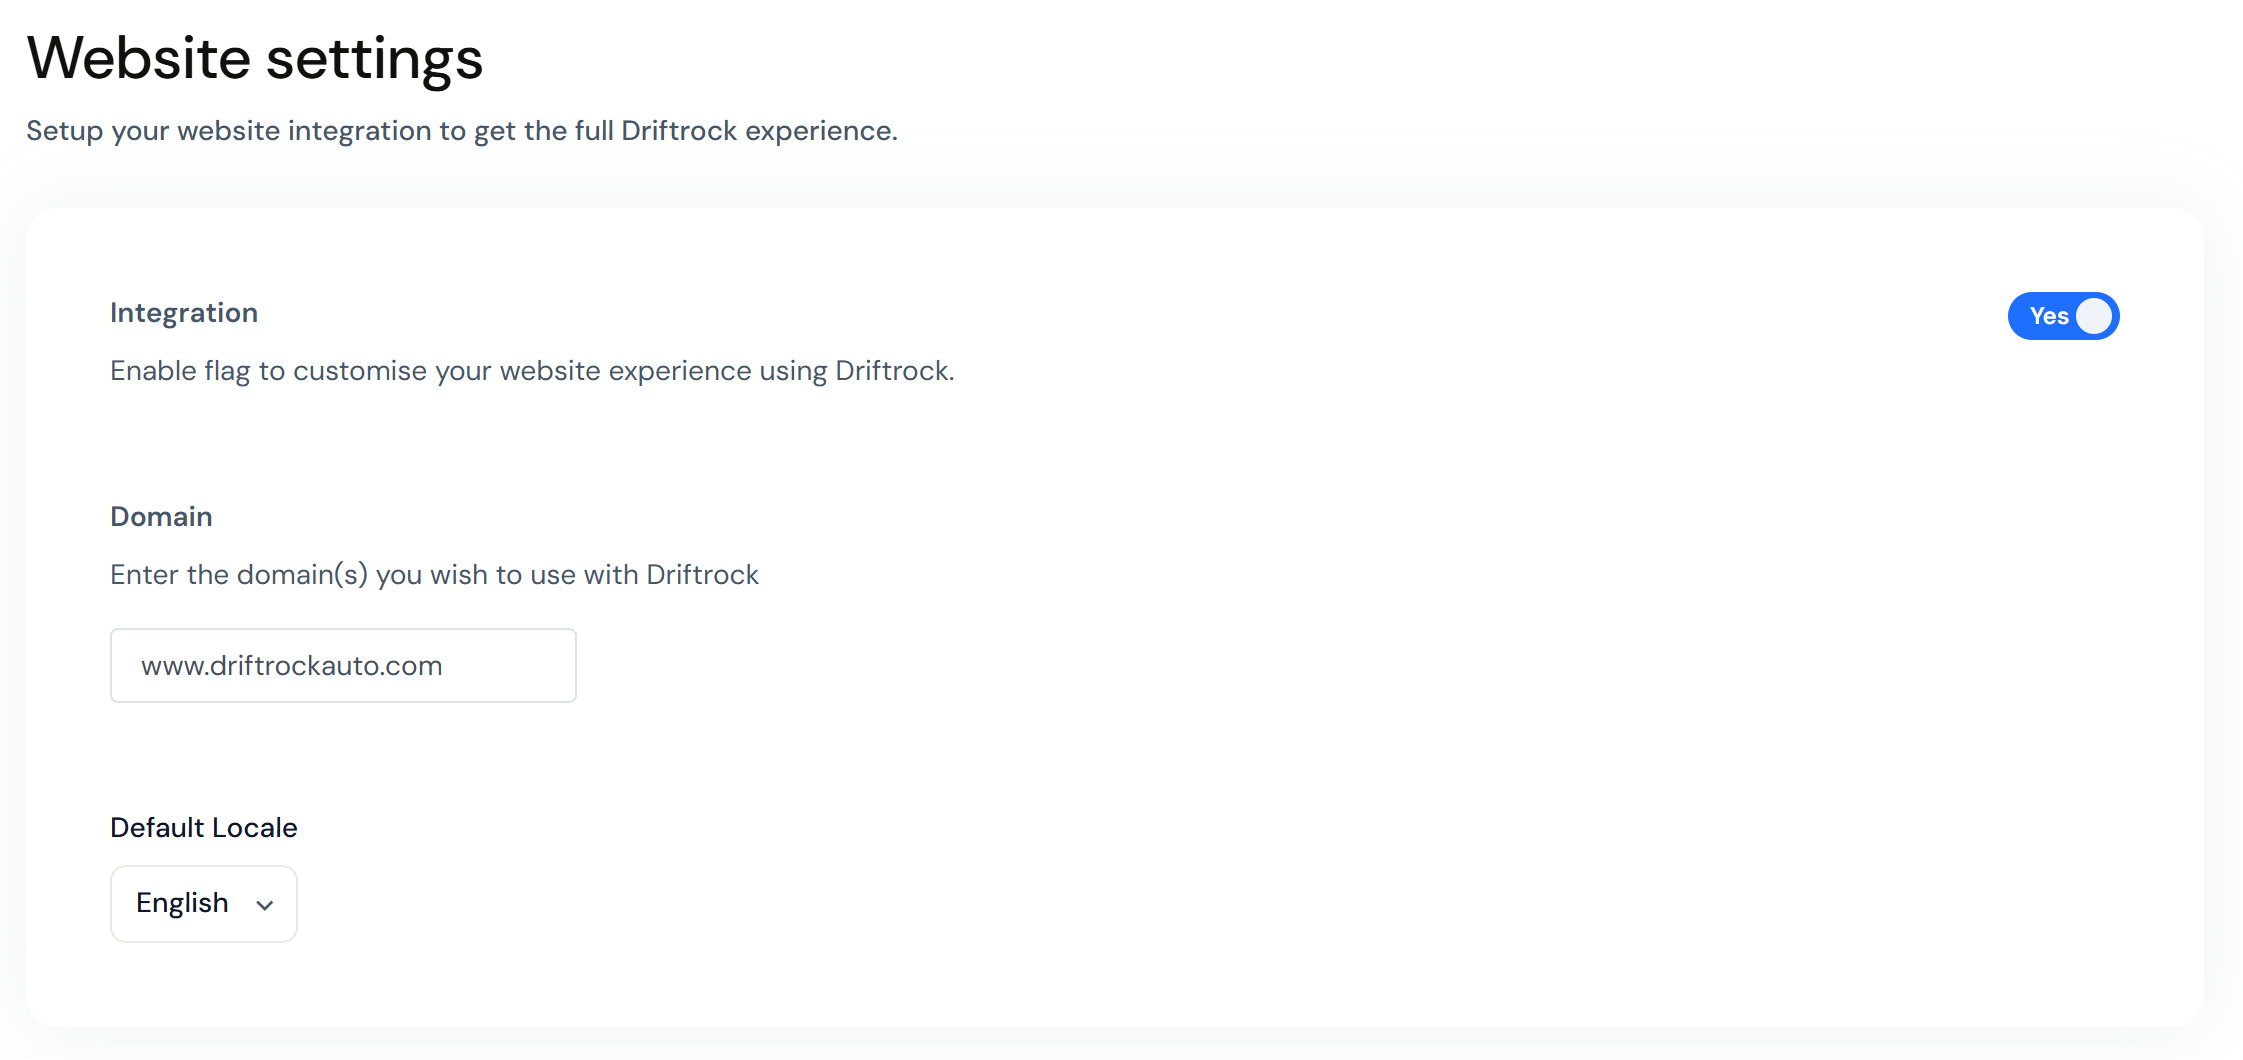
Go to Settings, then Website.
Turn on the Integration toggle.
Enter the domains where your forms will appear, separated by commas. Include both the www and non-www versions of each domain, and include your staging domain as well as your live domain.
Choose your installation method: Google Tag Manager or Custom Website.
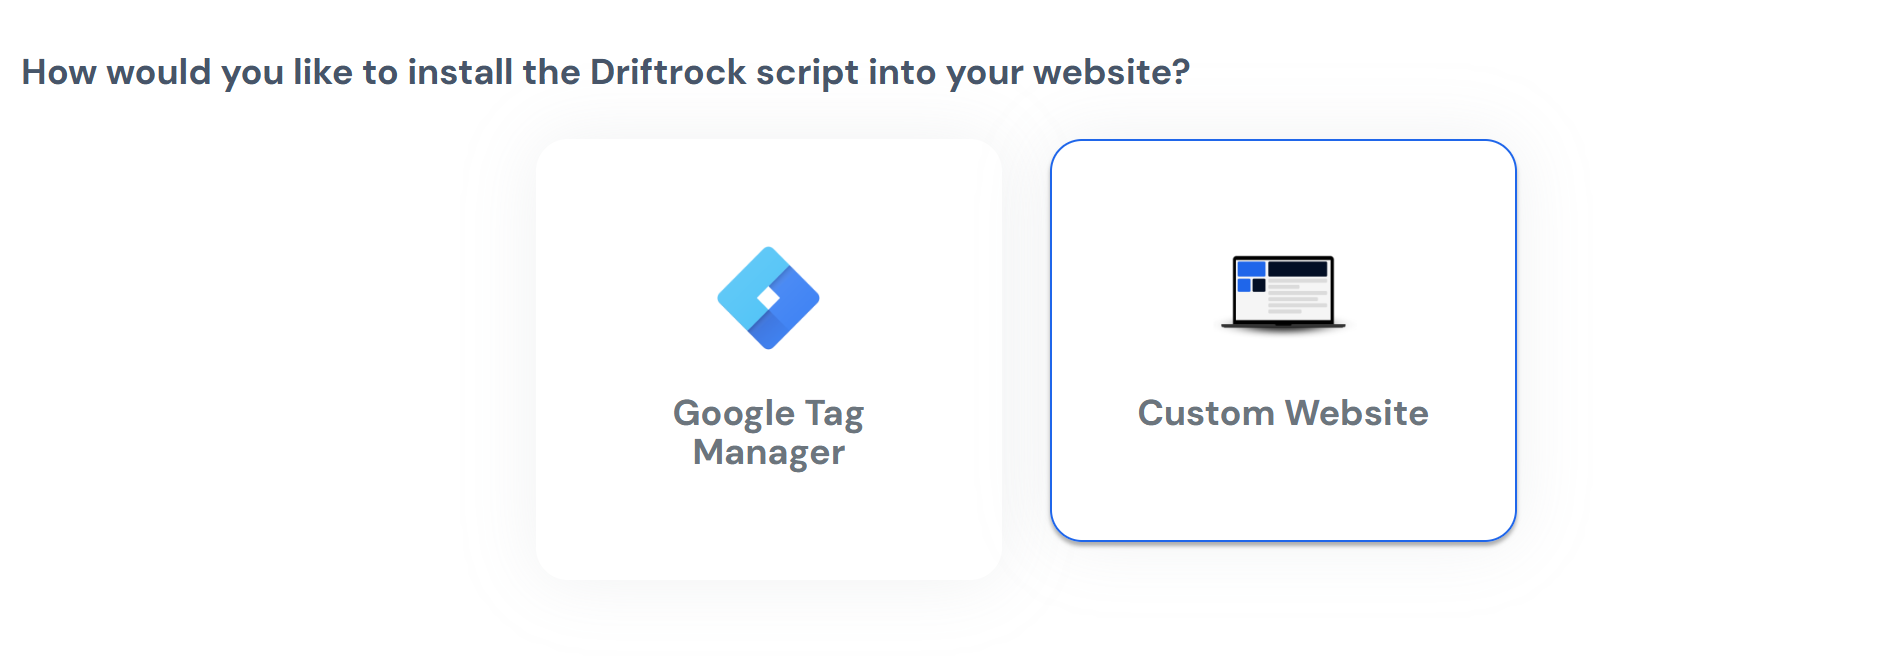
Copy the script shown on the page. It will look like this:
<script type="text/javascript">
  var script=document.createElement("script");
  script.type="text/javascript";
  script.async=!0;
  script.src="https://inbound-leads.driftrock.com/driftrock.js";
  document.body.insertAdjacentElement('beforeend', script);

  script.addEventListener("load", function() {
    Driftrock.init({
      api_key: "{API Key here}"
    });
  });
</script>
Install the script on every page of your website. In Google Tag Manager, add it as a tag that fires on all pages.
Back in Website Settings, turn on Widgets to allow Driftrock forms to appear on your site.
Turn on Website Events so Driftrock adds marketing attribution data, such as UTM parameters and click IDs, to your leads.
If you want ad platform pixels to fire when a form is submitted, enter your GTM Container ID.
Step 2: Build the form
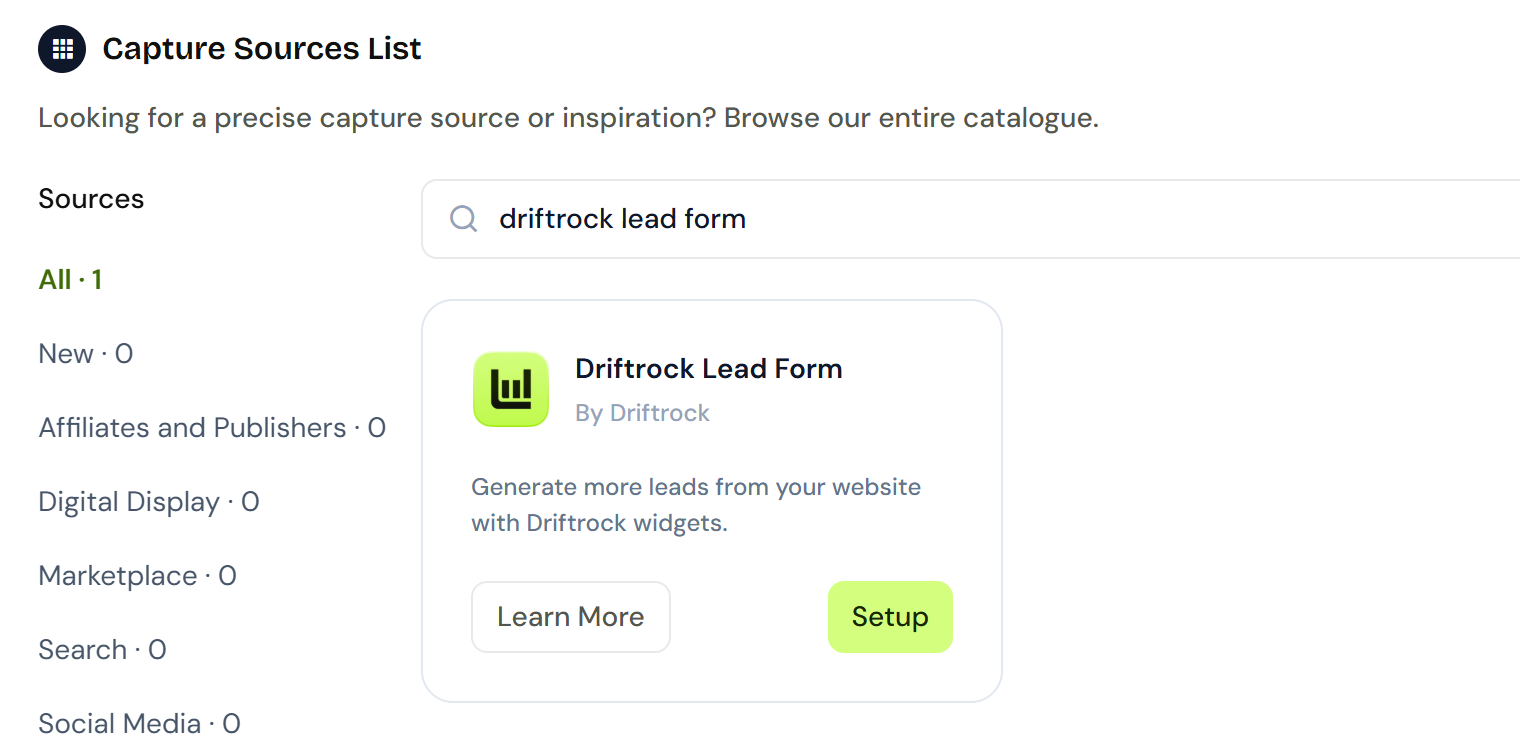
Go to the Capture Library and select Driftrock Lead Forms.
Give the form a name.
If your account uses Lead Types, choose the Lead Type for this form. A Lead Type can only be selected when the form is created.
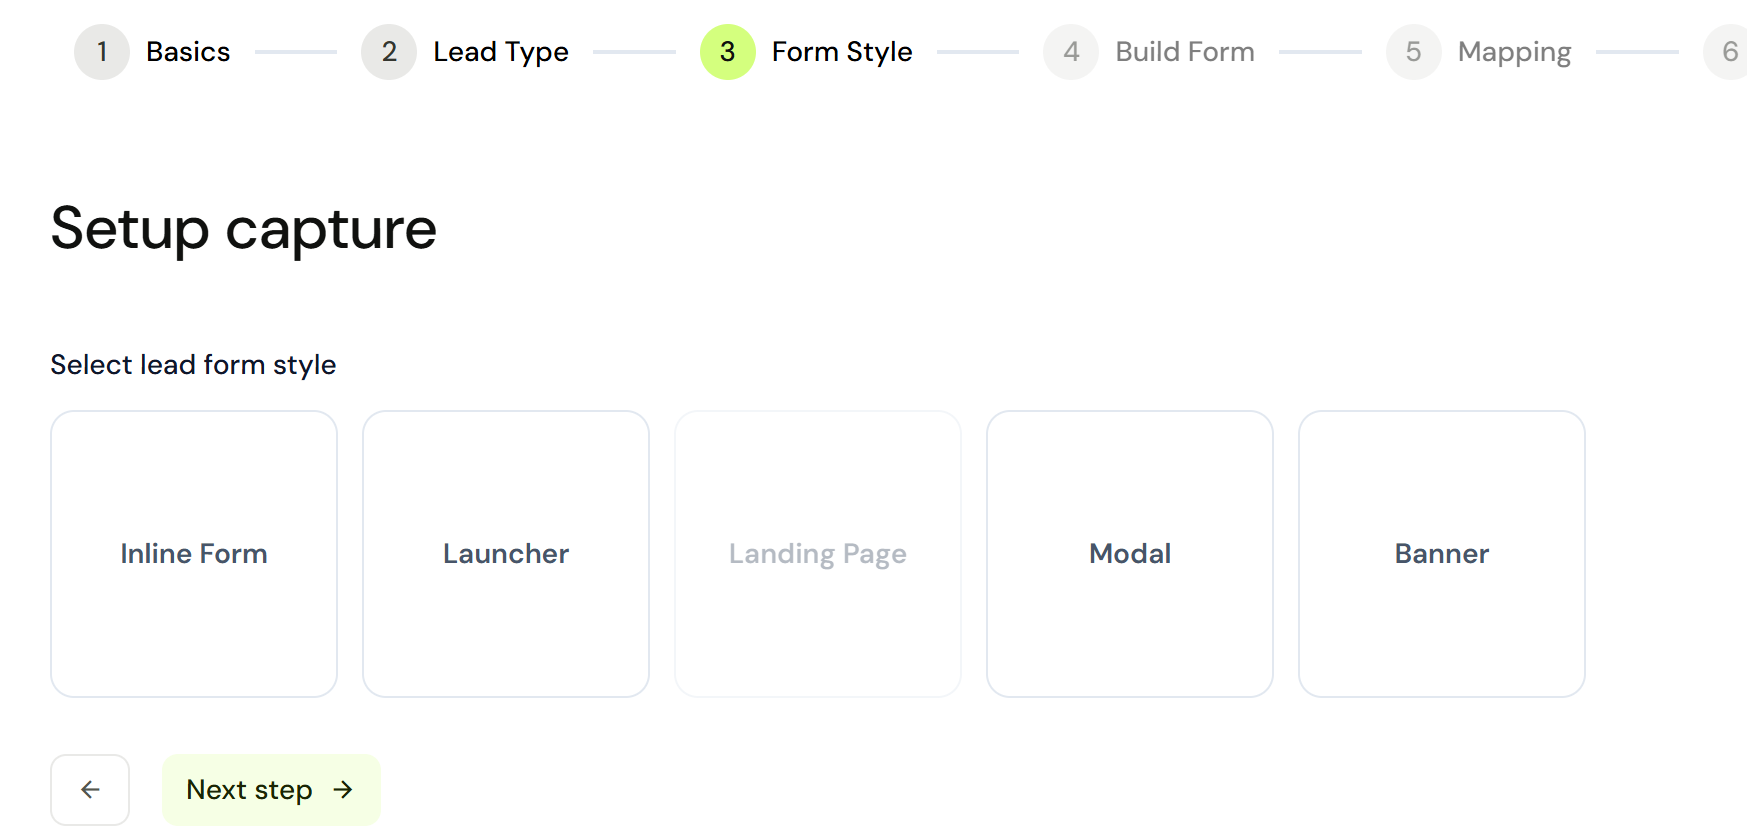
Select the type of form you would like to build.
Inline form: Is embedded within a landing page
Launcher: Sits in the bottom left or right of your page as a clickable button
Modal: Can be triggered to pop up from a button click
Banner: Full width banners which can be triggered or load on page visits
Set the form's colours for the background, text, buttons and inputs. You can enter a colour or use the colour picker. The form preview will update as you make changes.
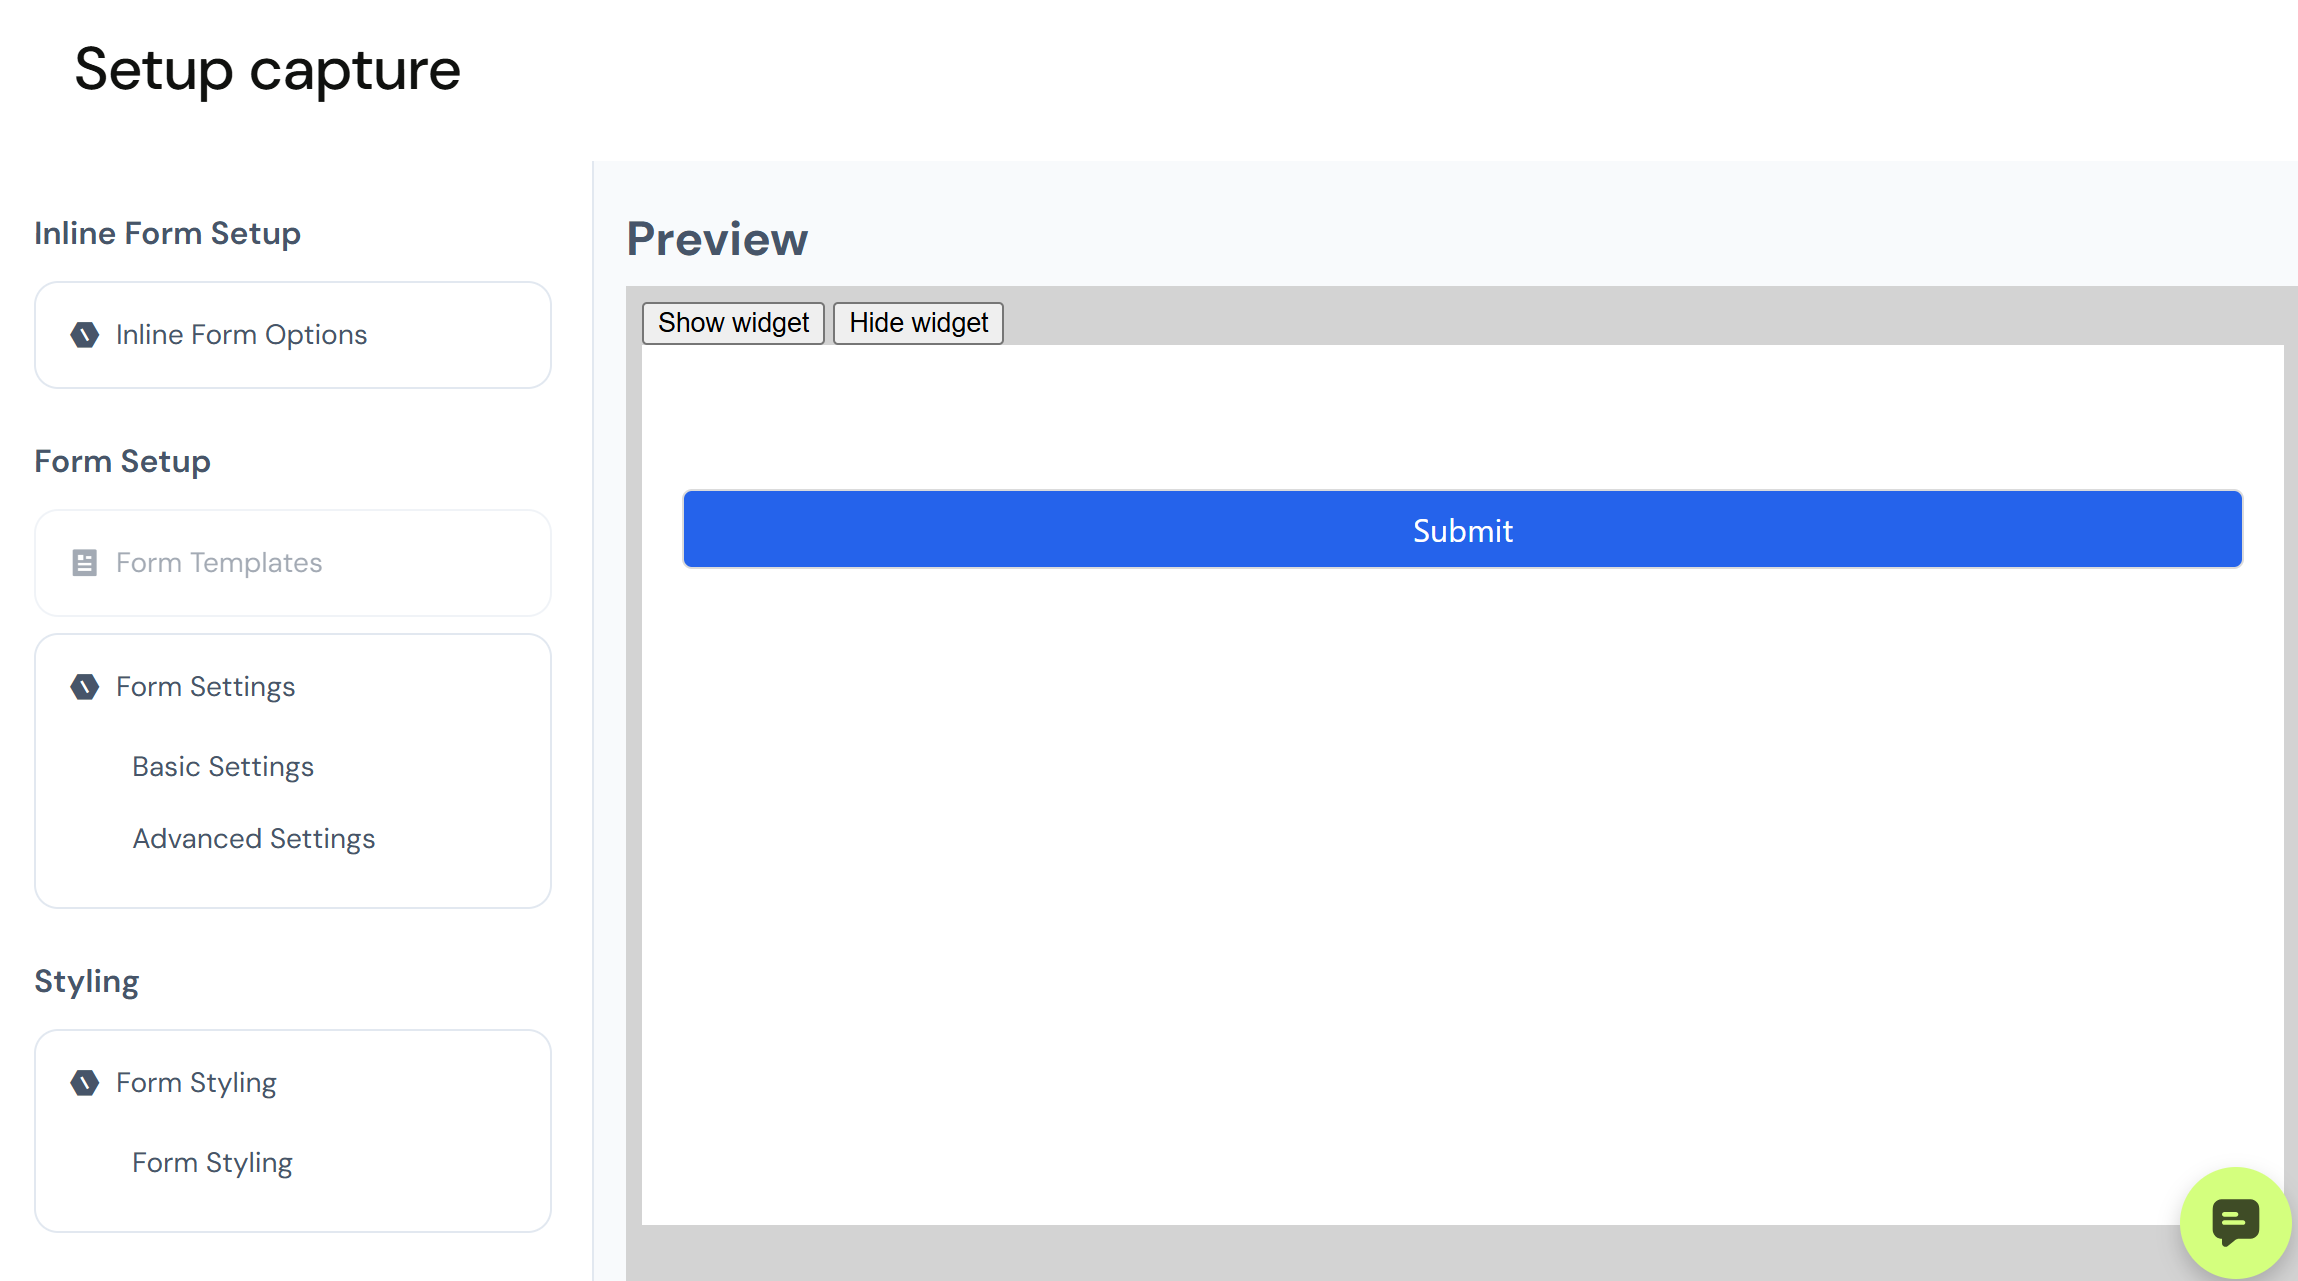
Add the form's content, such as an image, heading and description.
Add the fields you need, including every field your CRM requires.
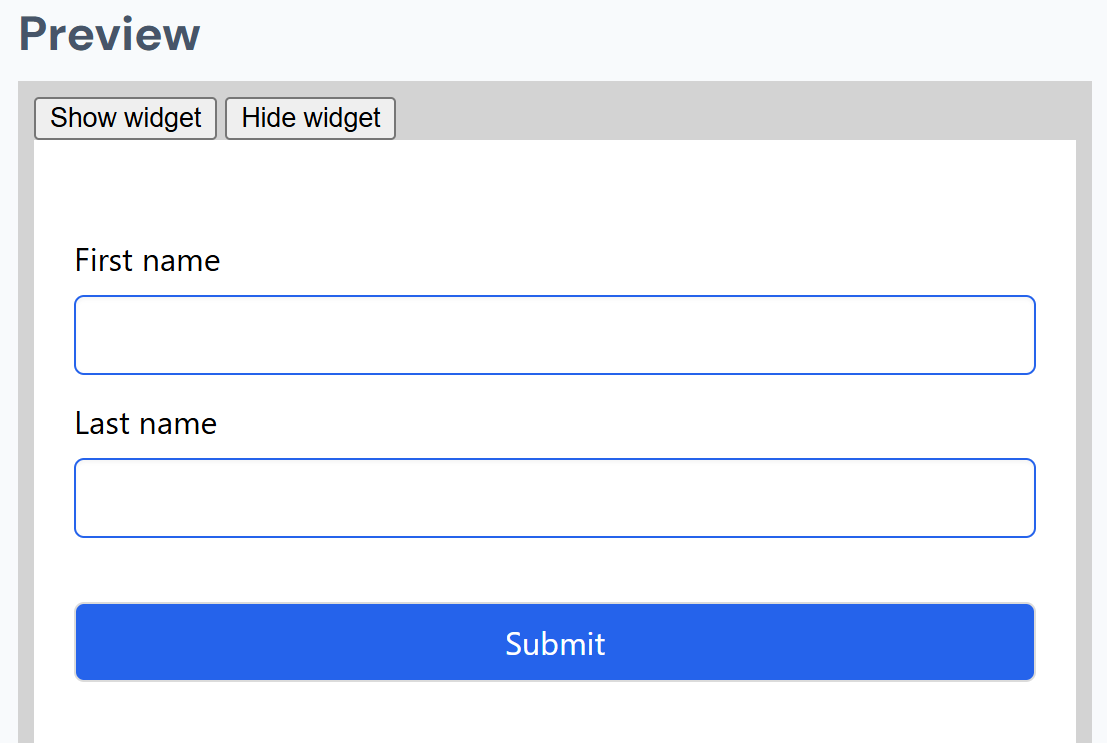
Add any custom questions. You can use conditional logic to show or hide a question based on a previous answer. For example, if someone selects "Test Drive" as their reason for enquiring, show a question asking for their preferred date.
Add your consent wording, the button text and the thank-you message or page.
Step 3: Set up your Destinations
In the form's Destinations step, select your CRM or other Destination.
Map the form's fields to the matching fields in your CRM, including every field your CRM requires.
If leads need to go to different places, for example to different dealerships, set up routing based on the form's answers. You can use dynamic email addresses that take their value from a field on the form, such as the selected dealership.
Save and activate the form.
Step 4: Add the form to your website
Make sure Step 1 is complete and the Driftrock script is installed on the page.
Go to Overview and copy the form's container code from Driftrock. It will look like this:
<div class="driftrock-04ac1d17-30b6-46b7-a87f-81232bb4a621"></div>
Paste the container code into the page where you want the form to appear. In most CMSs, this is a custom code or HTML block. If you use a CMS or no-code website builder, follow that platform's instructions for adding custom code.
Publish the page.
The form uses the colours and fonts you set in Driftrock. If your web team wants the form to match your site more closely, they can apply their own CSS to the form's container.
Step 5: Test the form
In Driftrock, check that the form is active in Your Captures.
Go to the page on your staging website and submit a test lead through the form.
In Driftrock, open the form's Capture and confirm the lead arrived with the correct fields and marketing information.
Check your CRM to confirm the lead arrived and was routed correctly.
Repeat the test on your live website.
Test leads are processed in the same way as live leads, so they reach your CRM. Use details that are clearly marked as a test.
Making changes after launch
You can change the form's questions, content and design in Driftrock at any time. Open the form's Build tab, make your changes and click Publish Form Changes. The changes appear on your website once published, without any changes to your website code.
Cookies
The Driftrock script sets the following cookies. You may want to add them to your website's cookie policy.
Cookie | Type | Purpose |
|---|---|---|
| Performance | Records click IDs generated by ad platforms before the visit, for marketing measurement and optimisation. |
| Performance | Records the source of visits before a lead is submitted, for marketing measurement and optimisation. |
| Strictly necessary | Records when a form has been submitted, and whether more than one submission has been made. |
The script respects your cookie consent setup. If your website uses OneTrust, Cookiebot, Consentmanager or another IAB TCF v2 compatible consent management platform, Driftrock's cookies are only set once the visitor gives consent.
Tips
Include both the www and non-www versions of every domain in Website Settings. A missing version is the most common reason a form does not appear.
Add your staging domain so you can test forms before they go live.
Install the script on every page, not just the pages with forms, so marketing information is captured from the visitor's first page.
Map every field your CRM requires in the Destinations step. Leads missing a required CRM field cannot be delivered.
If marketing information such as UTM parameters is missing from your leads, check that Website Events is turned on in Website Settings.
If you cannot see Website under Settings, ask an Admin in your account to update your permissions.
If your website uses a consent management platform not listed above, check compatibility with your Driftrock account manager before going live.