
How to create an affiliate capture
This guide explains how to create an Affiliate Capture in Driftrock so that affiliate partners and publishers can send leads into your account. It covers each setup step, from naming the Capture to testing the first lead.
What is an Affiliate Capture?
An Affiliate Capture is a Capture that receives leads from affiliate partners and publishers through the Affiliate Event API: a direct, server-to-server connection between the partner's system and Driftrock.
One Affiliate Capture can receive leads from several partners. Each partner you add is assigned a unique Affiliate ID, and each partner uses its own API key to authenticate its requests. Driftrock uses these to identify which partner sent each lead.
When a lead arrives, Driftrock checks it against the required fields, Acceptance Rules and deduplication rules you set on the Capture. Accepted leads are sent to your Destinations. Rejected leads are logged with the reason they were rejected.
Before you start
You need:
Admin permission, to create API keys.
An API key for each partner. Create these in Security, then API Keys, by clicking Add an API key and naming each key after the partner.
The list of fields you expect partners to send, and which of them are required.
The details of your Destination, such as your CRM.
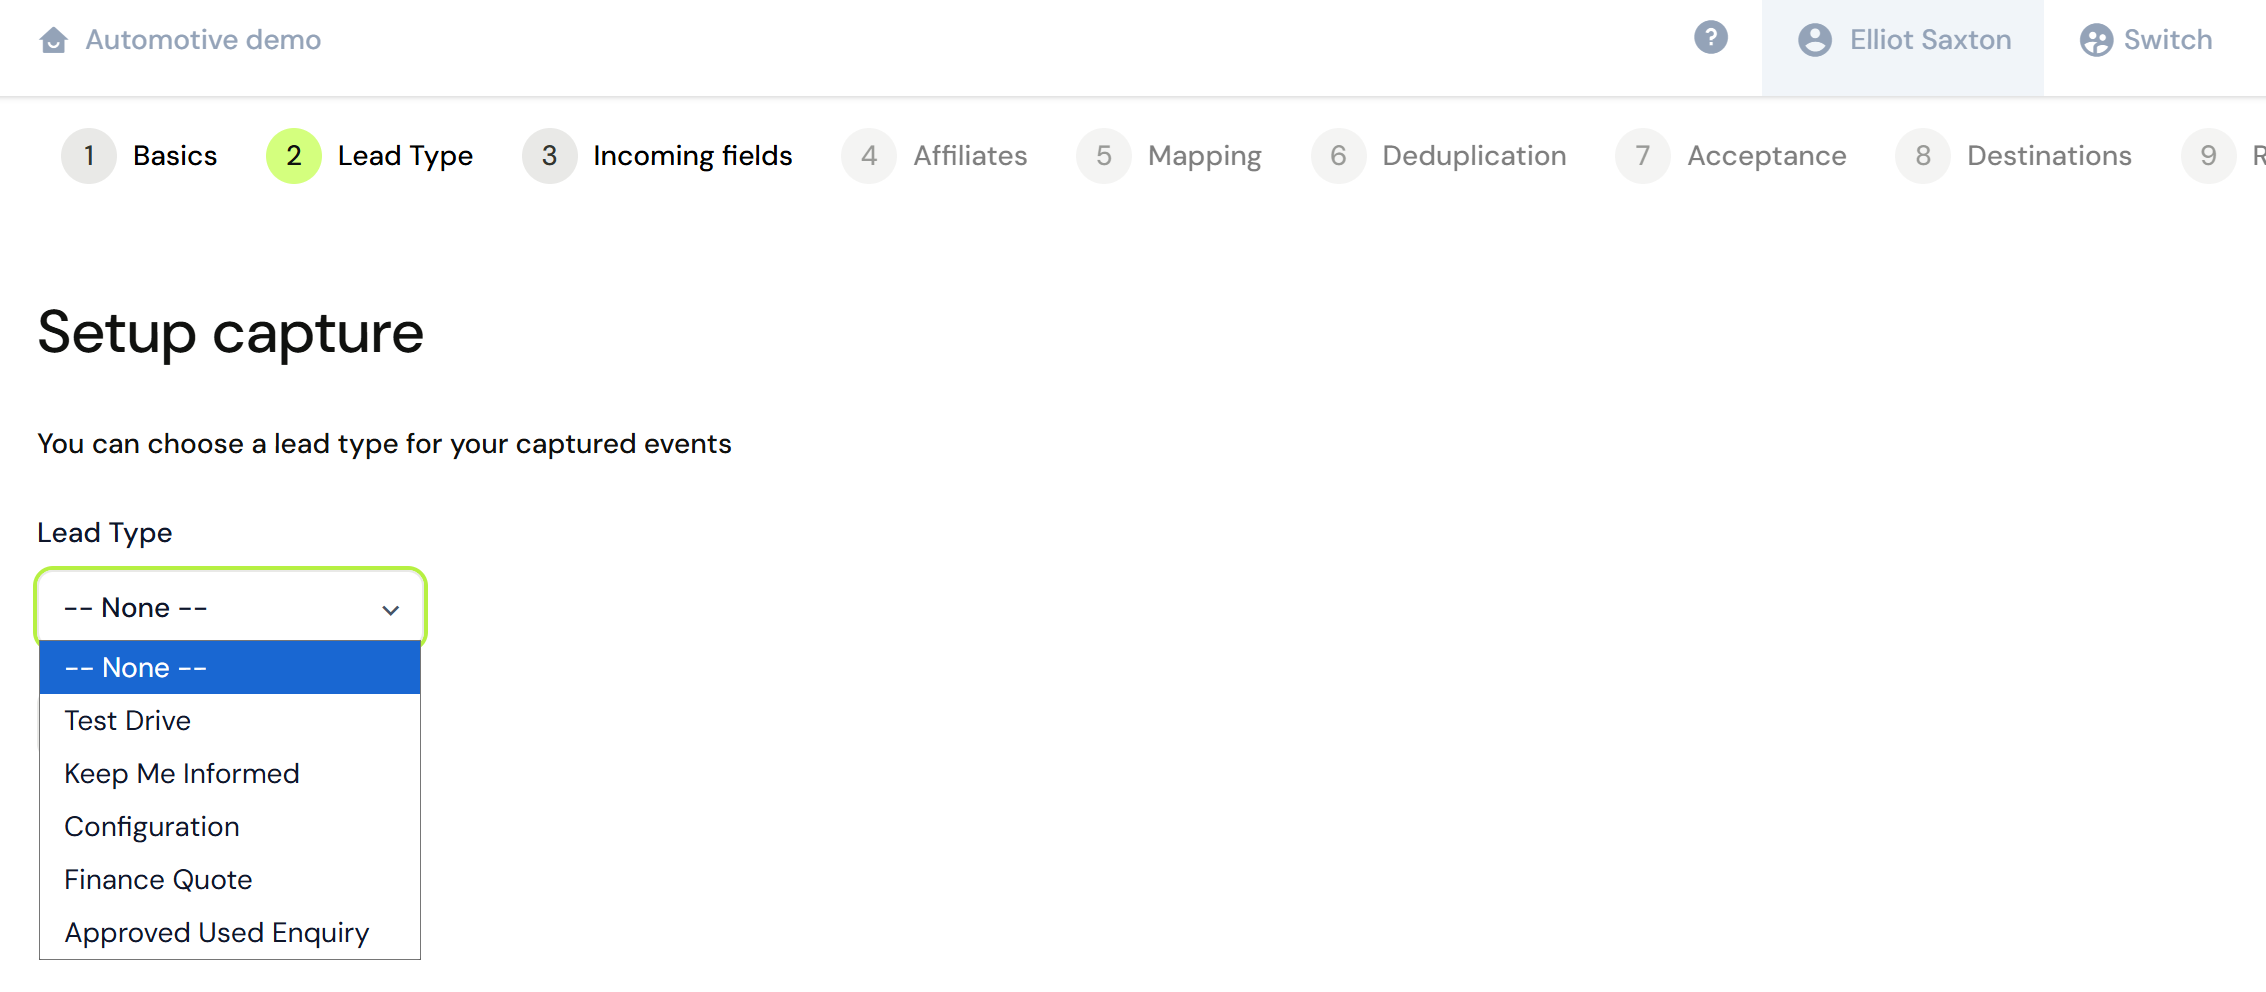
If your account uses Lead Types, decide which Lead Type the Capture should use before you start. A Lead Type can only be selected when a Capture is created and cannot be added or changed afterwards.
Step 1: Start the Capture
Open the Capture Library from the left-hand navigation menu.
Find the Affiliate Capture card and click Setup.
Give the Capture a name, for example "Affiliate Leads Q4".
Step 2: Choose a Lead Type (optional)
After you name the Capture, you can choose a Lead Type. Selecting one applies that Lead Type's required fields and automations to the Capture. Leads that arrive without one of the Lead Type's required fields are marked Incomplete.
Choosing a Lead Type is optional. If you do not select one, the Lead Type's required fields are not enforced on this Capture.
Step 3: Define the expected fields
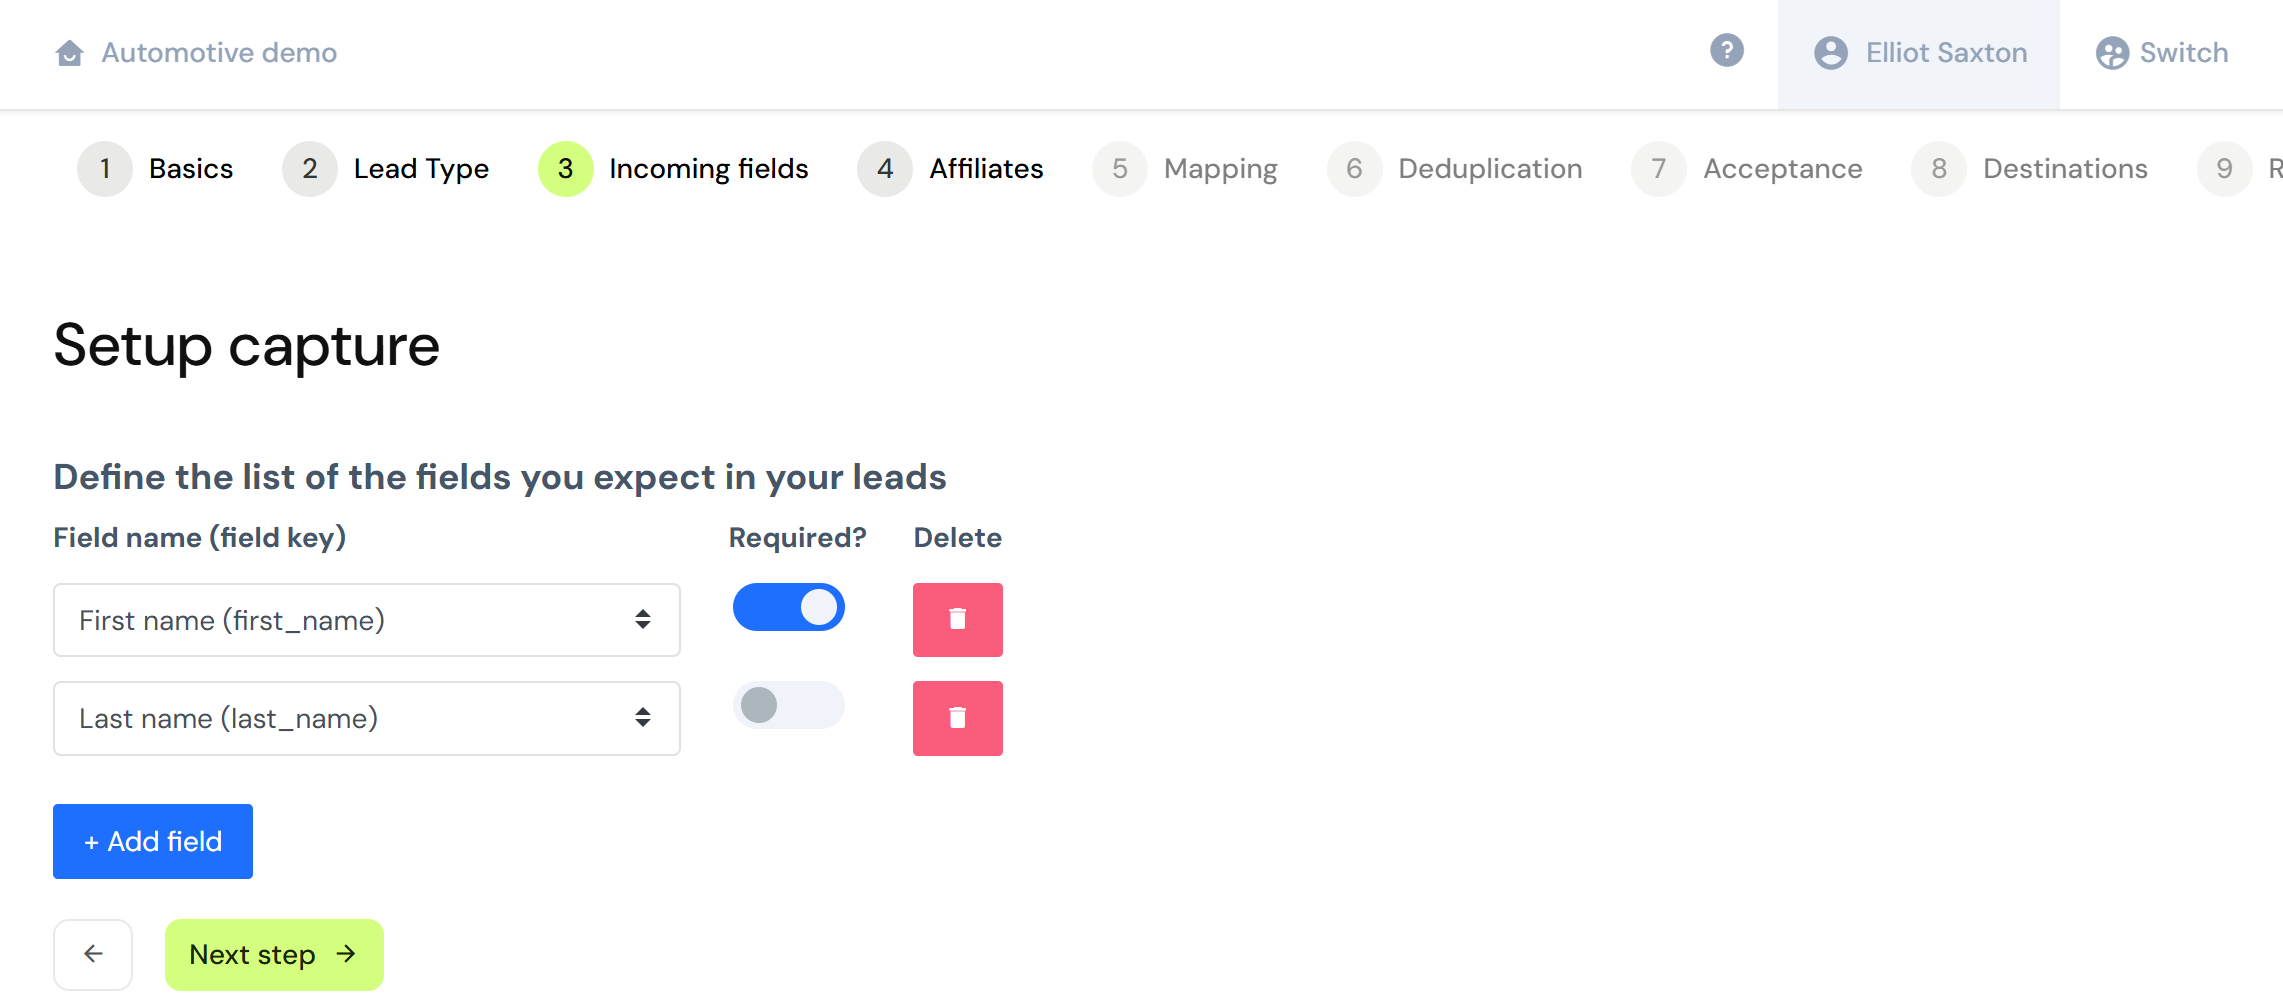
Click +Add field and select the fields you expect partners to send, such as Email, First Name and Phone. You can choose existing Driftrock fields or create a custom field.
Toggle Required on any field that must be present. Driftrock rejects any lead that arrives without a value for a required field.
Step 4: Add your partners
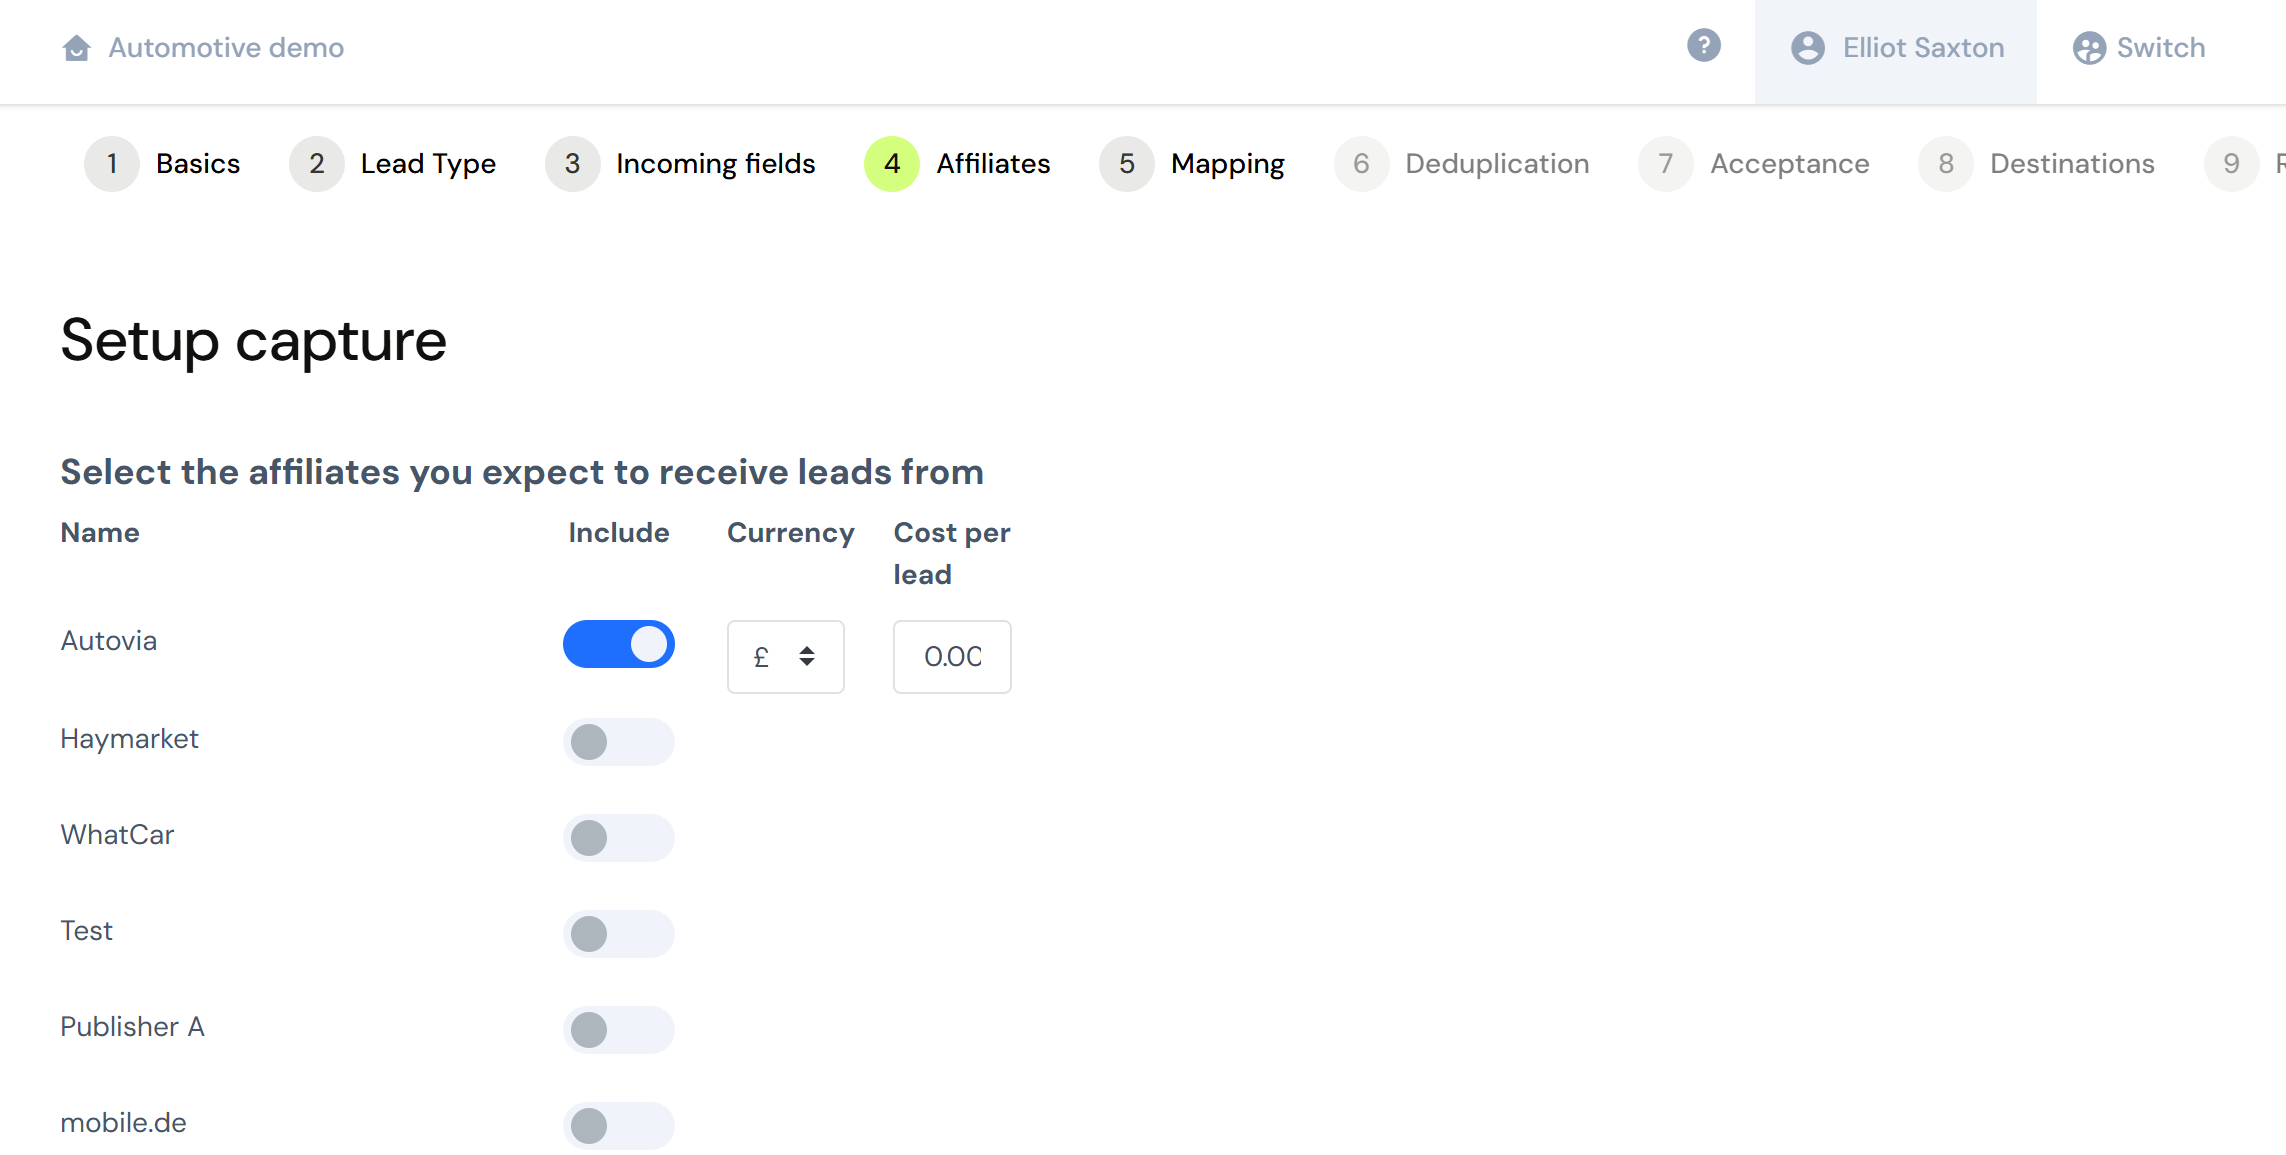
Under Affiliates, add the name of each partner who will send leads to this Capture.
Driftrock assigns each partner a unique Affiliate ID, through the Affiliate ID creation process.
Step 5: Check marketing tracking
In the Marketing Tracking section, Driftrock uses each partner's name as the Source or Campaign value on their leads. This lets you report on leads by partner.
Step 6: Set Acceptance Rules and deduplication
Add Acceptance Rules to define the conditions a lead must meet to be accepted. Rules can use any incoming field, for example "Postcode is not empty", "Email is not empty" or "Purchase timeline contains Within 3 months".
In the deduplication step, set any custom deduplication rules. You choose which fields to match on and the lookback window, for example rejecting a lead if the same email and vehicle model has been submitted by any partner in the last 30 days.
Leads that fail a rule are marked Rejected and are not sent to your Destinations.
Step 7: Set your Destinations
In the Destinations step, add your CRM or other Destination, such as Salesforce, HubSpot or a webhook.
Map your Driftrock fields to the matching fields in your Destination.
Save and activate the sync.
Step 8: Review and share
On the Review step, check your settings.
Note the API endpoint URL, each partner's Affiliate ID and the example payload.
Send each partner their API endpoint URL, Affiliate ID, API key and example payload, along with the documentation page showing your acceptance criteria. Share API keys using a secure method, not by plain email.
Step 9: Test the connection
Ask each partner to send one live test lead.
Check Your Captures and your CRM to confirm the lead arrived, with the correct fields, and tagged with the partner's name.
If the lead does not appear, open the Rejected tab in Your Captures to see the reason.
Once setup is complete, the Capture appears in Your Captures, where you can monitor it and edit, duplicate, pause or delete it.
Tips
Mark fields as Required only where you need them, as leads missing a required field are rejected.
Start with basic Acceptance Rules, such as a non-empty postcode, email and phone number, and add more specific rules if needed.
Set the deduplication lookback window to suit your sales cycle. A longer window, such as 60 or 90 days, suits longer sales cycles.
Acceptance Rules apply only to leads that arrive after the rules are saved.
If partners describe vehicle models differently, add those names as aliases in your Vehicle Database so leads match the correct model.
Give each partner its own API key so you can revoke one partner's access without affecting the others.